What are the methods of installing rubber joints in pumps and valves?
What are the methods of installing rubber joints in pumps and valves?
Installing rubber joints in pumps and valves is an important task to ensure the integrity of the system and prevent leakage or damage. It requires careful consideration and proper techniques to maximize the effectiveness of the rubber joint. Here are some common methods of installing rubber joints in pumps and valves:
1 . Selecting the right rubber joint: The first step in installing a rubber joint is choosing the right type and size. Rubber joints come in various configurations and materials, such as EPDM, neoprene, or nitrile, which are suitable for different applications. Consider factors such as the fluid being transferred, pressure and temperature requirements, and the movement expected in the system.
2 . Cleaning and preparing surfaces: Before installing the rubber joint, it is crucial to clean and prepare the surfaces where it will be attached. Remove any dirt, grease, or debris from the pipe or valve flanges. Smooth out any rough edges or burrs that could damage the rubber joint or cause a poor seal.
3 . Aligning the rubber joint: Ensure that the rubber joint is properly aligned with the pipe or valve flanges before installation. Check that the bolt holes in the rubber joint match the holes in the flanges. Misalignment can lead to stress and premature failure of the rubber joint.
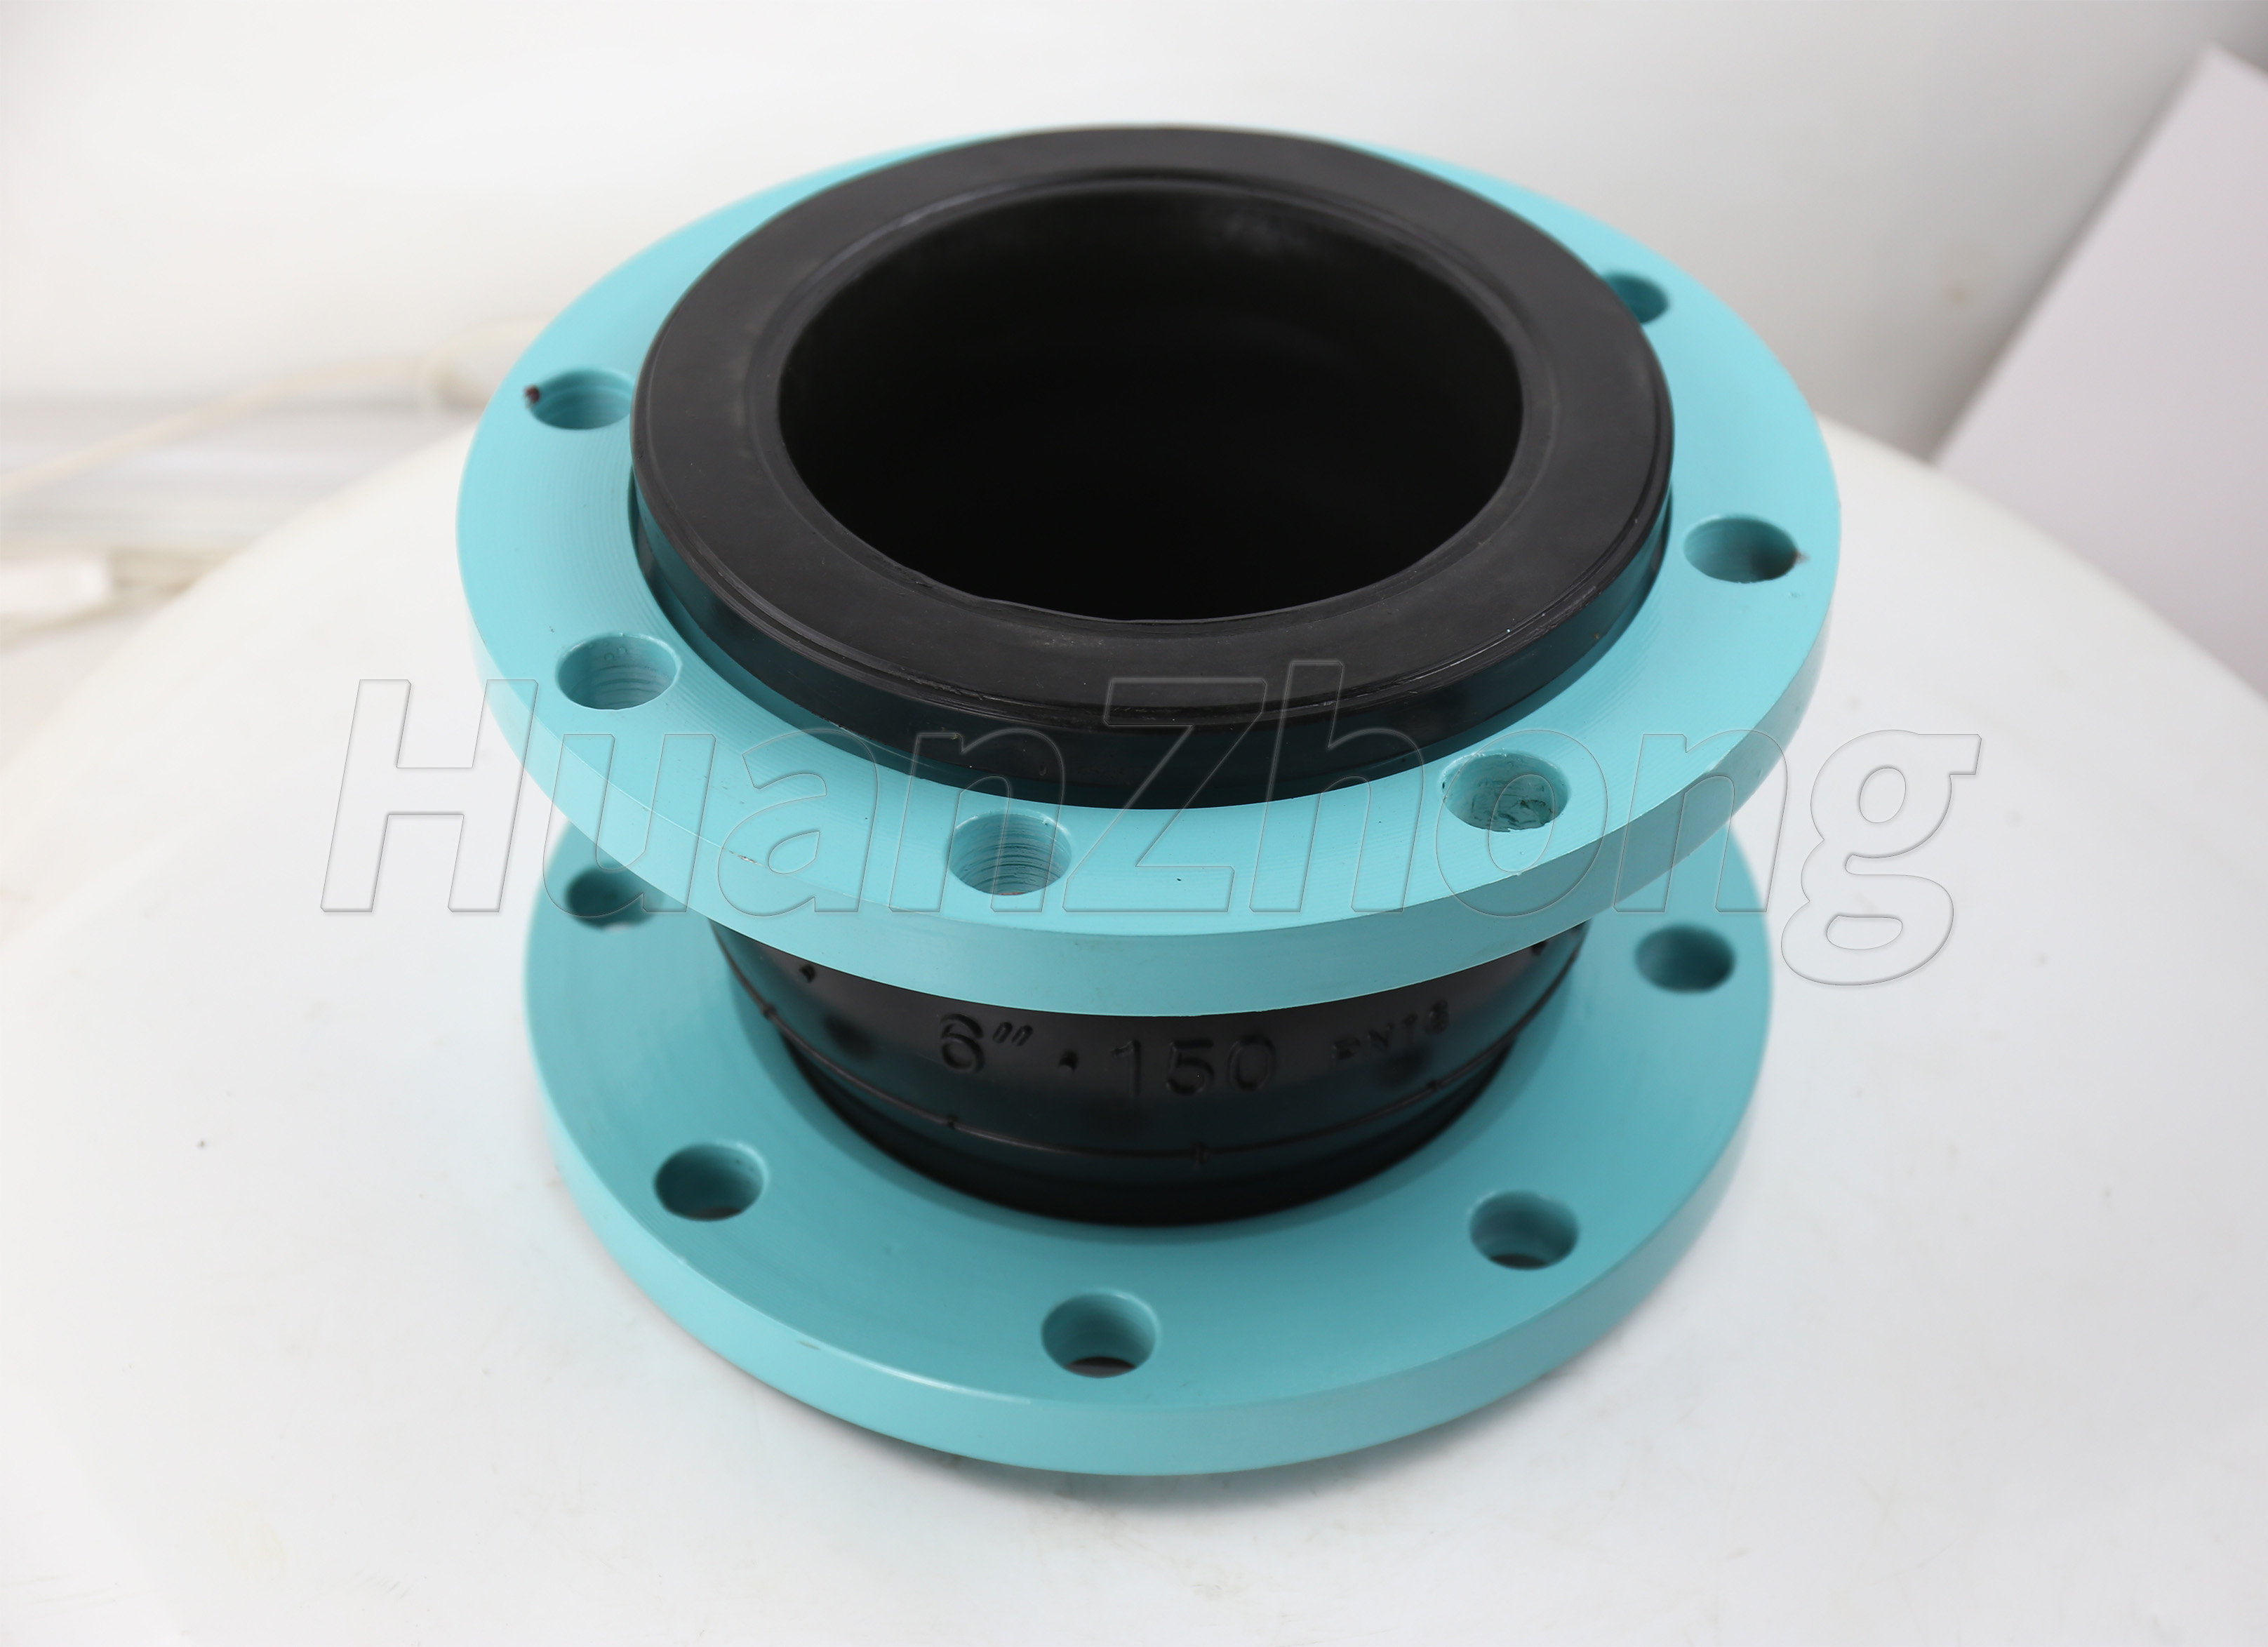
4 . Attaching the rubber joint: Place the rubber joint between the pipe or valve flanges, making sure it sits evenly and symmetrically. Insert the bolts through the bolt holes in the rubber joint and flanges. Use washers and nuts to secure the joints tightly. Tighten the bolts gradually and evenly, alternating between opposite sides, to ensure a uniform and secure fit. Do not overtighten the bolts, as this can damage the rubber joint or cause it to rupture.
5 . Inspecting the installation: After attaching the rubber joint, inspect the installation carefully for any signs of misalignment, gaps, or damage. Look for leaks or any irregularities that may compromise the rubber joint's performance. Ensure that the joint is not under excessive tension or compression that could cause premature wear or failure.
6 . Testing the system: Once the rubber joint is installed, conduct a pressure test on the system to ensure its integrity and detect any leaks. Gradually increase the pressure while monitoring for any signs of leakage around the rubber joint or other connections. If any leaks are found, tighten the bolts or make necessary adjustments to achieve a proper seal.
7 . Regular maintenance and replacement: Rubber joints, like any other components in pumps and valves, have a limited lifespan. They can deteriorate over time due to factors such as wear, aging, or exposure to chemicals or extreme temperatures. Regularly inspect the rubber joints for any signs of wear, cracking, or degradation. Replace them as needed to maintain the system's performance and prevent potential failures.
Proper installation techniques are crucial for the effective function and longevity of rubber joints in pumps and valves. By following these methods, you can ensure a secure and leak-free seal, minimizing the risk of damage or downtime.