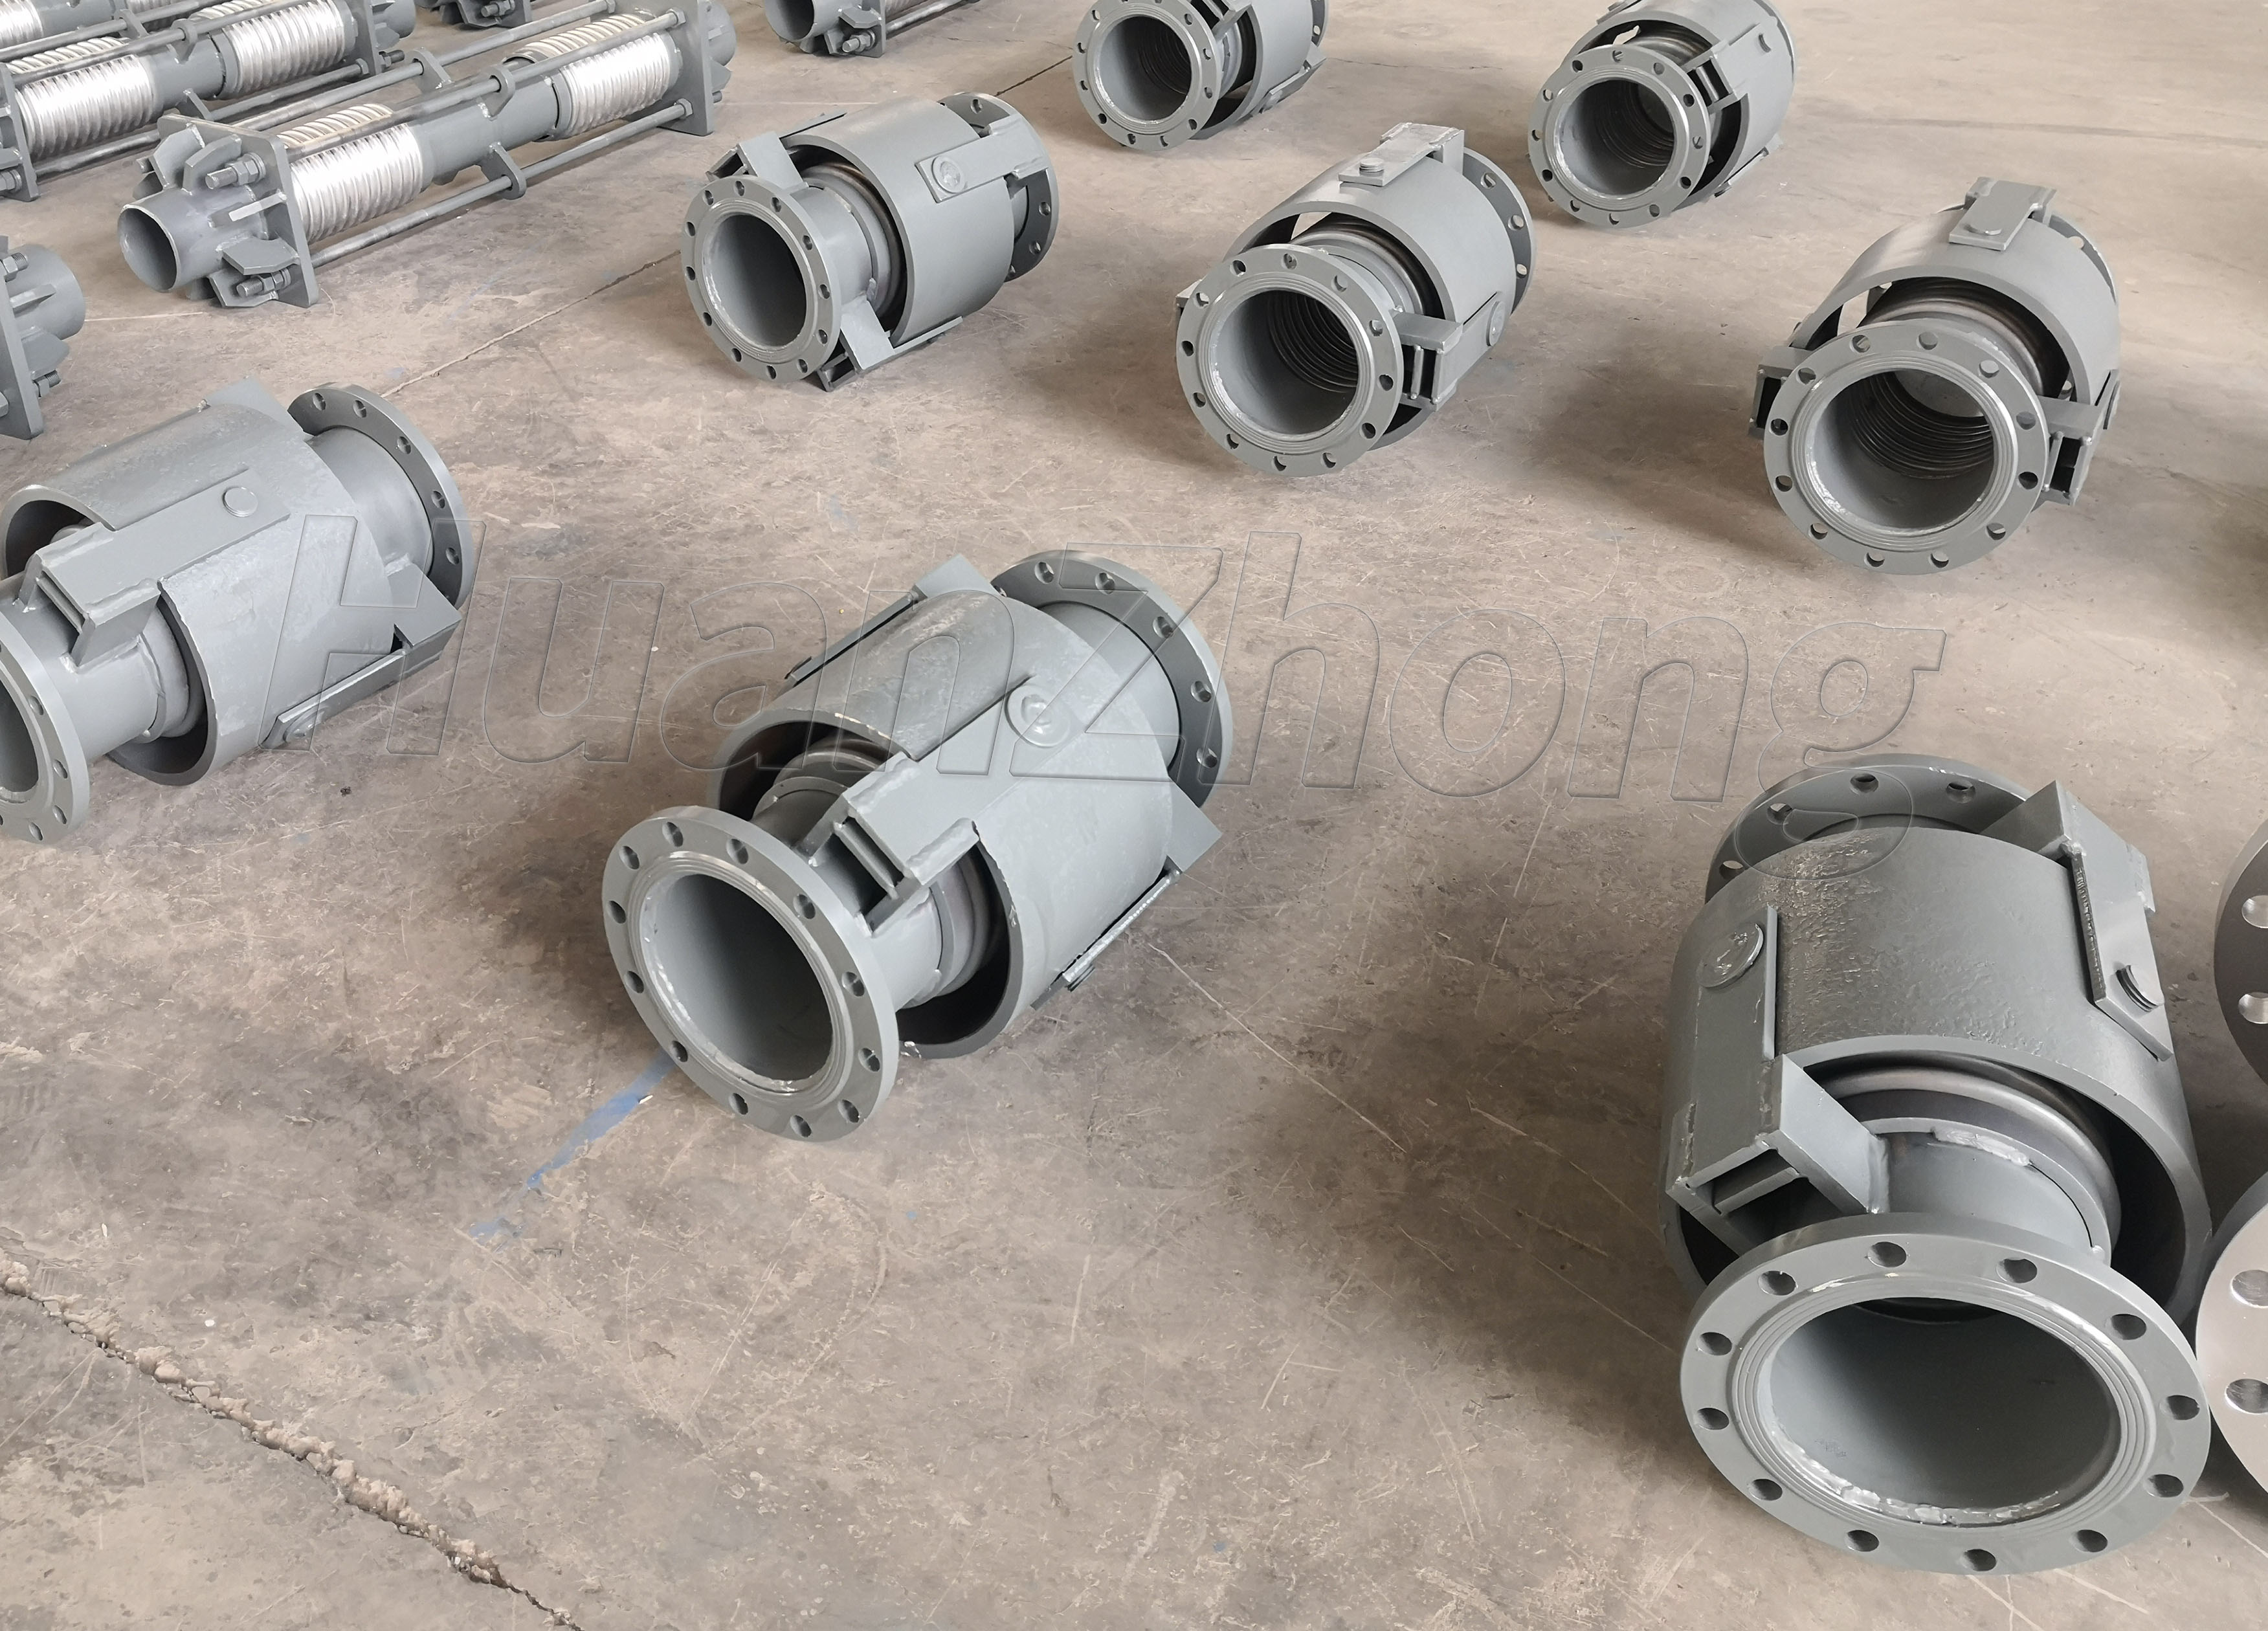
Sleeve corrugated compensator installation guide support requirements.
Sleeve corrugated compensator installation guide support requirements. Installing a sleeve corrugated compensator correctly is crucial for its optimal performance and longevity. In this installation guide, we will outline the support requirements and steps to ensure a successful installation.
Support Requirements:
Adequate support structure: Before installing the compensator, ensure that the support structure, such as hangers or brackets, is designed and installed correctly. The support structure should be able to bear the weight of the compensator and the pipe to which it is connected. Additionally, the support structure should be properly aligned and anchored to provide stability.
Proper spacing: The compensator should be installed with sufficient spacing between the support points to allow for its axial movement. Consult the manufacturer's guidelines or specifications for the recommended spacing based on the size and type of compensator being installed. This spacing will allow the compensator to absorb the thermal expansion or contraction of the pipe without putting excessive stress on the system.
Alignment: Ensure that the compensator and the adjacent pipe sections are properly aligned during installation. Misalignment can result in additional stress and premature failure of the compensator. Use alignment guides or jacks to adjust the position of the compensator as required.
Installation Steps:
Preparation: Before installing the compensator, thoroughly clean the pipe ends to remove any dirt, debris, or loose material. Ensure that the pipe ends are smooth and free from burrs or sharp edges that could damage the compensator during installation.
Inspection: Before installing the compensator, carefully inspect it for any signs of damage, such as dents, cracks, or corrosion. If any defects are found, do not proceed with the installation and contact the manufacturer for further guidance.
Apply lubrication: Applying a suitable lubricant to the compensator's flanges or coupling surfaces can facilitate easier installation and prevent damage to the sealing surfaces. Follow the manufacturer's recommendations for the appropriate lubricant to use.
Proper alignment: Align the compensator flanges with the corresponding flanges on the adjacent pipe sections. Ensure that the bolts or fasteners are properly aligned with the holes in the flanges. It is essential to maintain alignment throughout the installation process to avoid stress or strain on the compensator.
Tightening of bolts: Gradually tighten the bolts or fasteners in a crisscross pattern to ensure even pressure distribution and proper sealing. Refer to the manufacturer's specifications for the recommended torque values. Over-tightening can cause distortion or damage to the compensator, while under-tightening can result in leaks or improper sealing.
Final inspection: After installation, inspect the compensator and the surrounding area for any leaks, misalignment, or signs of stress. Check that all bolts are properly tightened and the compensator is securely fastened to the pipe sections. Rectify any issues identified during the inspection to ensure the integrity and proper functioning of the compensator.
By following these support requirements and installation steps, you can successfully install a sleeve corrugated compensator. Remember to consult the manufacturer's guidelines or seek professional assistance if you encounter any difficulties or have specific requirements for your installation. Proper installation is essential for maximizing the compensator's effectiveness in absorbing thermal expansion, reducing stress on the piping system, and maintaining its longevity.
