How to Use a Clamp-On Duckbill Valve.
How to Use a Clamp-On Duckbill Valve. A clamp-on duckbill valve is a versatile device that is commonly used in various industries for controlling the flow of fluids, such as water, slurry, or other liquids. Its unique design allows it to provide one-directional flow control, preventing backflow and ensuring efficient system operation. In this essay, we will explore how to use a clamp-on duckbill valve effectively.
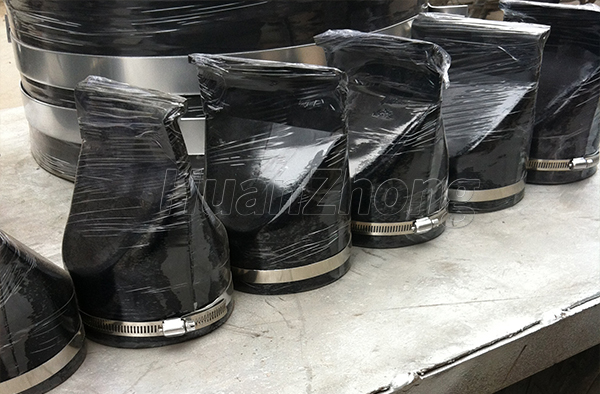
First and foremost, it is important to understand the anatomy of a clamp-on duckbill valve. It consists of two main components: the rubber duckbill sleeve and the clamp mechanism. The rubber duckbill sleeve is typically made of high-quality elastomer material, which allows it to flex and open when there is forward flow pressure. When there is no pressure or backflow, the duckbill sleeve closes tightly to prevent any reverse flow. The clamp mechanism, usually made of stainless steel or other durable materials, is used to secure the rubber sleeve in place and provide a tight seal.
To use a clamp-on duckbill valve, follow these steps:
Assess the flow direction: Determine the direction of flow in your system. The duckbill valve is designed to allow flow in one direction only. Ensure that the valve is installed with the correct orientation to prevent any backflow.
Select the right size: Choose a duckbill valve that matches the pipe or tubing diameter of your system. It is crucial to ensure an appropriate fit to achieve optimal performance and prevent leakage.
Prepare the installation area: Clean and inspect the area where the duckbill valve will be installed. Remove any debris or obstructions that may hinder the proper functioning of the valve.
Position the duckbill valve: Place the clamp-on duckbill valve in the desired location within your piping system. Make sure to align it properly with the flow direction. The rubber duckbill sleeve should face the direction of the desired flow.
Secure with clamps: Use the clamp mechanism provided with the valve to secure the rubber sleeve in place. Ensure that the clamps are tightened adequately to create a strong and reliable seal. Be cautious not to overtighten the clamps, as this may cause damage to the valve or restrict the flow.
Test the valve: Once the clamp-on duckbill valve is securely in place, conduct a thorough inspection to ensure proper installation. Check for any signs of leakage or misalignment. You can perform a pressure test by gradually increasing the flow in your system to verify that the valve operates as intended.
Regular maintenance: Periodically inspect and clean the valve to remove any accumulated debris or sediment that may impact its performance. Depending on the application and operating conditions, the rubber duckbill sleeve may require replacement over time, so it is important to monitor its condition and replace it when necessary.
In conclusion, a clamp-on duckbill valve is a valuable component for controlling fluid flow in various systems. By following the steps outlined above, you can effectively install and use a clamp-on duckbill valve, ensuring proper flow direction and preventing backflow. Regular maintenance and inspection will help maximize the valve's lifespan and ensure optimal performance in your system.