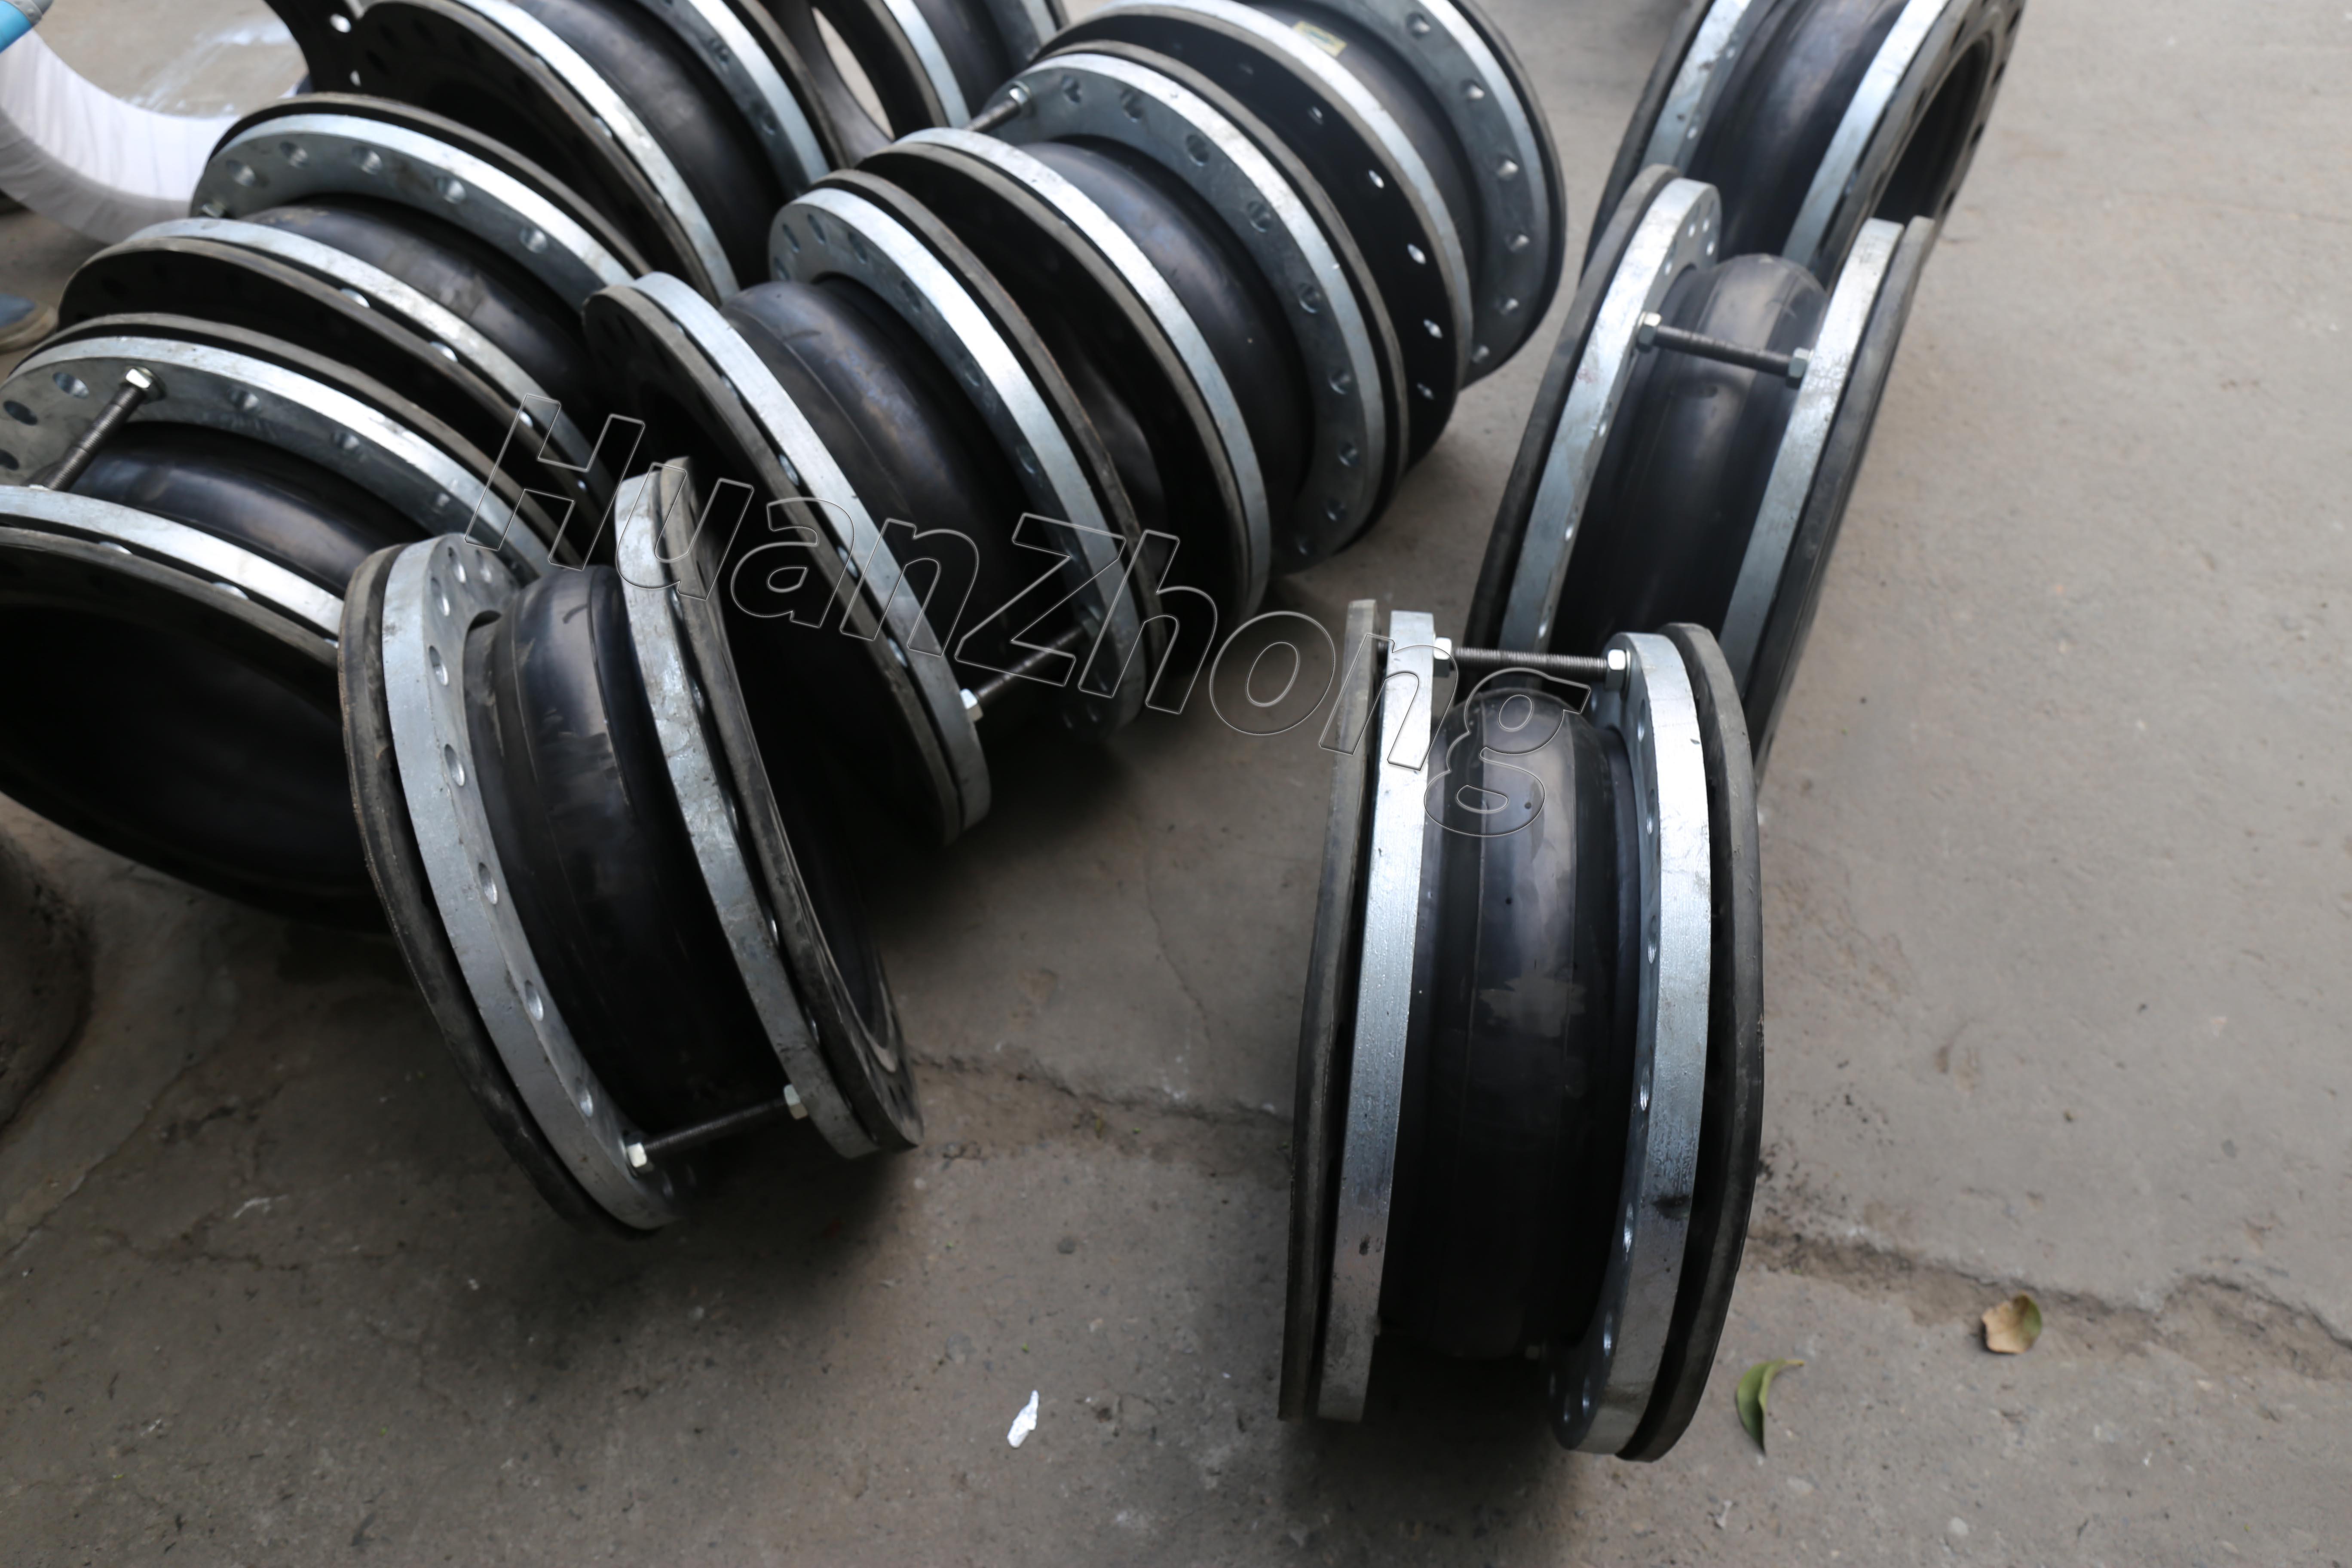
How to Install Single Sphere Flexible Rubber Joints?
How to Install Single Sphere Flexible Rubber Joints? Installing a single sphere flexible rubber joint is a relatively simple process that requires attention to detail and some basic tools. In this article, we will walk you through the step-by-step process of installing a single sphere flexible rubber joint effectively.
Here's how to install a single sphere flexible rubber joint:
Preparation: Before beginning the installation process, gather all the necessary tools and materials. You'll need a wrench, lubricant, and the single sphere flexible rubber joint itself. Make sure the joint is the right size for the pipes you are connecting.
Shut off the water supply: Locate the main water supply valve and shut it off to prevent any water flow during the installation process. This will help avoid potential spills and leaks.
Measure and mark: Take accurate measurements of the pipe lengths between which the rubber joint will be installed. Mark the positions on both pipes where the joint will be placed. Ensure that the pipes are clean and free from any debris or residue.
Apply lubricant: Apply a thin layer of lubricant on the threads of the pipes and on the inner surface of the rubber joint. This will facilitate the installation process and help create a tight seal.
Connect the joint: Insert one end of the joint onto one of the marked pipes, ensuring that the threaded ends align correctly. Attach the joint securely by turning it clockwise with the help of a wrench. Tighten it firmly but avoid over-tightening, as this could damage the joint or the pipes.
Repeat the process: Now, insert the other end of the joint onto the second marked pipe, aligning the threaded ends and securing it with the wrench. Again, tighten it firmly but with caution.
Testing and adjustments: Once the joint is securely installed, turn the water supply back on and check for any leaks. Inspect the joint carefully for any signs of water leakage. If any leaks are detected, turn off the water supply again and make necessary adjustments to the joint's tightness.
Finalize the installation: Once you ensure there are no leaks, double-check the tightness of the joint connections. If they are secure, turn on the water supply and test the system for proper flow and functionality.
In conclusion, the installation process of a single sphere flexible rubber joint involves measuring, preparing the pipes, lubricating the threads, connecting the joint, testing for leaks, and final adjustments. By following these steps carefully, you can effectively install a single sphere flexible rubber joint and ensure a reliable and secure connection between pipes or tubes.
