Instructional Video for Rubber Joint Fabrication
Introduction:Welcome to our instructional video on the fabrication and assembly of rubber joints. Rubber joints play a critical role in various industries, offering flexibility and vibration isolation in piping systems. In this tutorial, we will guide you through the step-by-step process of fabricating rubber joints, ensuring a comprehensive understanding of the essential techniques and best practices.
Step 1: Material Preparation
The first step in fabricating rubber joints is to gather the necessary materials and tools. You will need rubber sheets, fabric or wire reinforcement, adhesive, release agents, and molds of the required dimensions. Ensure that the materials are of high quality and suitable for the intended application.
Step 2: Cutting and Shaping
Using the provided templates or measurements, cut the rubber sheets to the required dimensions. It is vital to achieve accurate and clean cuts to facilitate proper molding and assembly. Precision in cutting is crucial for ensuring the structural integrity and functionality of the rubber joint.
Step 3: Reinforcement Insertion
If the design calls for reinforcement, such as fabric or wire, carefully insert the reinforcement material into the rubber layers. Ensure that the reinforcement is evenly distributed and adhered to the rubber using appropriate adhesive to enhance the joint's strength and durability.
Step 4: Molding and Vulcanization
Place the prepared rubber components into the mold, ensuring proper alignment and fit. Apply heat and pressure to facilitate the vulcanization process, which imparts the desired physical properties to the rubber and ensures the formation of a robust, resilient joint.
Step 5: Finish and Quality Check
After the vulcanization process is complete, carefully remove the rubber joint from the mold. Trim any excess material and inspect the joint for any defects or irregularities. It is essential to conduct a thorough quality check to verify the dimensional accuracy and physical integrity of the fabricated rubber joint.
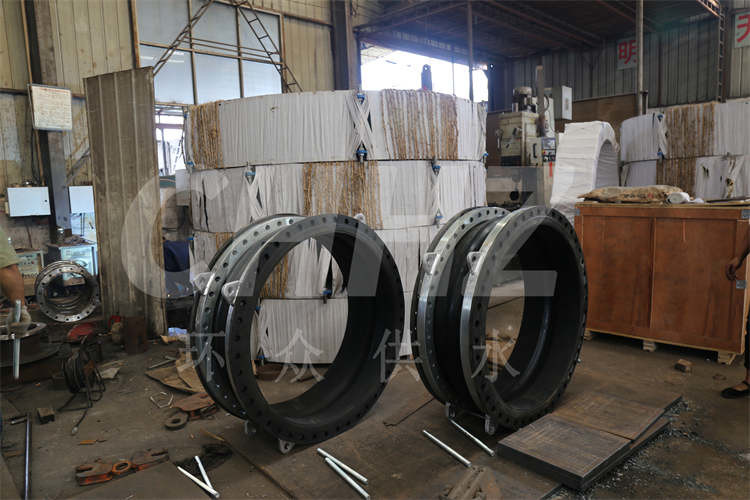
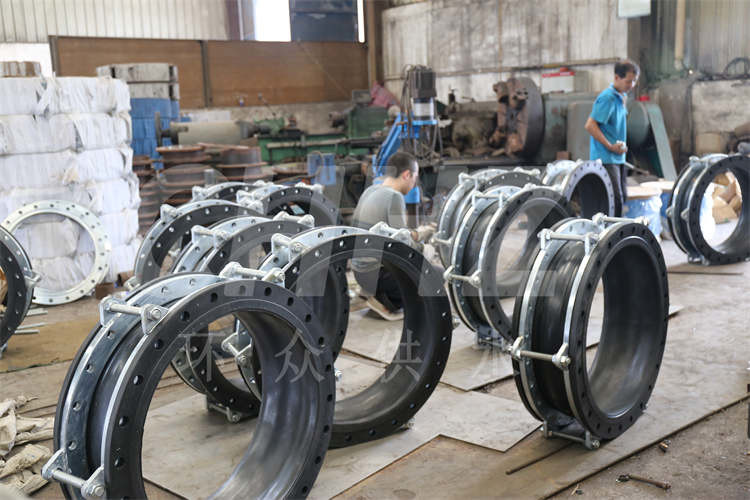
Step 6: Assembly and Application
Once the rubber joint passes the quality check, it is ready for assembly into the piping system. Ensure that the joint is installed according to the designated specifications and alignment requirements. Proper assembly and installation are crucial for achieving optimal performance and extending the service life of the rubber joint.
Conclusion:
In conclusion, the fabrication of rubber joints involves a series of precise steps, from material preparation to assembly. By following the techniques and best practices outlined in this instructional video, you can ensure the successful fabrication and assembly of high-quality rubber joints, contributing to the reliability and efficiency of various piping systems across industries. Thank you for watching, and we hope this tutorial has provided valuable insights into the fabrication of rubber joints.