Manual Assembly Methods for Rubber Joints
Introduction: The assembly of rubber joints is a crucial process that requires attention to detail and precision to ensure optimal performance and longevity. This article highlights the manual assembly methods used for rubber joints, outlining the necessary steps, best practices, and considerations for ensuring a reliable and efficient assembly process.
Step 1: Inspection and Preparation The assembly process begins with a thorough inspection of the rubber joint components to ensure that they meet quality standards. This includes checking for any defects, damage, or inconsistencies in the rubber material, as well as confirming the proper sizing and dimensions. Additionally, any accompanying hardware, such as flanges and bolts, should be examined for suitability and integrity. Once the inspection is complete, the components are prepared for assembly by cleaning and lubricating as necessary to facilitate easy fitting.
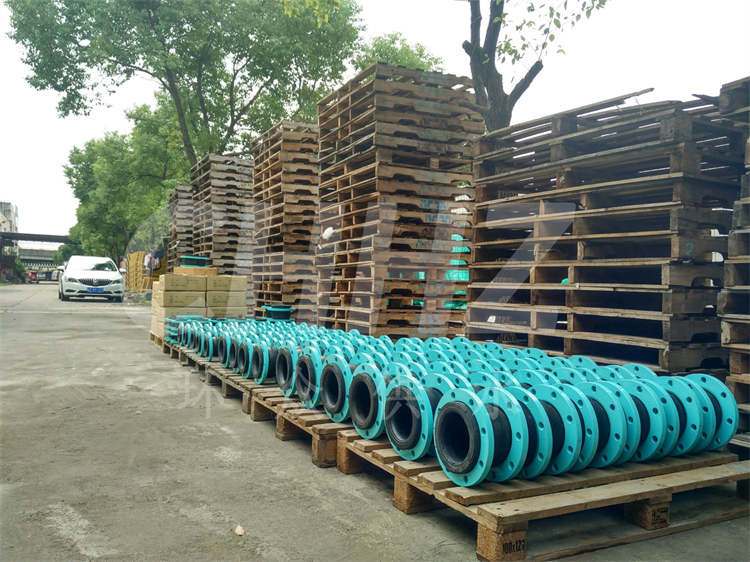
Step 2: Positioning and Alignment The proper positioning and alignment of rubber joints are critical to their functionality and longevity. Careful attention should be given to aligning the joints with the adjoining piping and equipment. This may involve adjusting the position of the joints to accommodate for any misalignment or angular deflection in the piping system, ensuring a secure and tight fit.
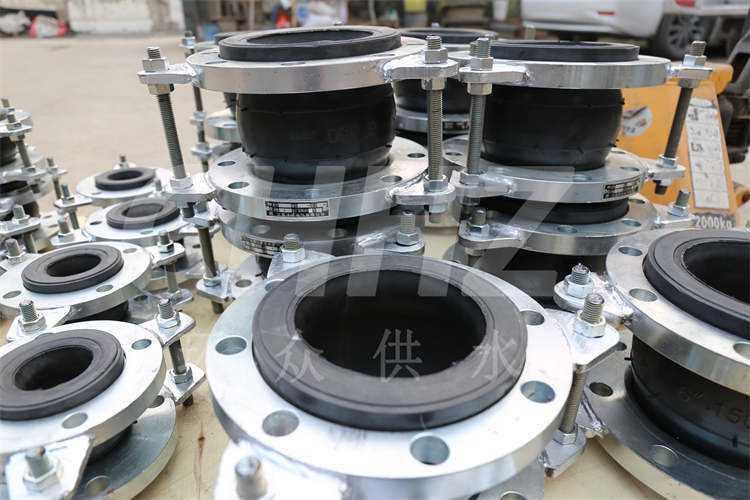
Step 3: Attachment of Flanges and Bolts Following proper positioning, the attachment of flanges and bolts to the rubber joint is carried out. This step requires the use of appropriate torque specifications to ensure that the flanges are securely fastened to the joint. It is important to evenly distribute the torque across the bolts to prevent uneven pressure on the joint, which could lead to premature wear or failure.
Step 4: Sealing and Inspection Once the flanges and bolts are attached, the sealing integrity of the assembly is confirmed. A visual inspection is conducted to ensure that the joint is properly seated and that there are no gaps or leaks present. This step may also involve conducting a pressure test to verify the sealing performance under operating conditions.
Step 5: Quality Assurance and Documentation Following the assembly process, quality assurance checks are performed to validate the integrity of the joint assembly. These checks may include dimensional verification, material conformity, and functional tests to ensure that the joint meets the specified requirements. Additionally, thorough documentation of the assembly process, including any specific parameters or adjustments made, is important for traceability and future reference.
Conclusion: The manual assembly of rubber joints is a meticulous process that requires attention to detail, precision, and adherence to best practices. Proper inspection, positioning, alignment, attachment, sealing, and quality assurance are all essential steps in ensuring a reliable and efficient assembly process. By following these assembly methods, manufacturers and technicians can produce rubber joint assemblies that meet stringent quality standards and deliver exceptional performance in a wide range of industrial applications.