How to Disassemble a Rubber Hose Joint Mold
Disassembling a rubber hose joint mold is a critical step in the manufacturing process, allowing for the removal of the finished product and the preparation of the mold for the next production cycle. Whether used in industrial applications or for custom manufacturing, knowing how to properly disassemble the mold is essential to ensure efficient and safe operation. Here are the steps for disassembling a rubber hose joint mold:
Ensuring Safety: Before starting the disassembly process, it is essential to ensure that all safety procedures are followed. This includes wearing appropriate personal protective equipment such as gloves and eye protection to prevent injury from sharp edges or residual materials.
Cleaning the Mold: Prior to disassembly, it is important to thoroughly clean the mold to remove any residual rubber or debris that could impede the disassembly process. Use suitable cleaning agents and tools to ensure that the mold surfaces are free from contamination.
Identifying Fastenings: Take note of how the mold is fastened together. This typically involves screws, bolts, or clamps that secure the mold's components. Identify the locations of these fastenings and prepare the necessary tools for their removal.
Loosening Fastenings: Using the appropriate tools, carefully loosen and remove the fastenings that hold the mold components together. Take care to support any sections that may become loose as the fastenings are removed to prevent accidental damage or displacement.
Separating Mold Components: With the fastenings removed, carefully separate the mold components, such as the core and cavity sections. This may require gentle tapping, leveraging, or the use of specialized separating tools to facilitate the disassembly process.
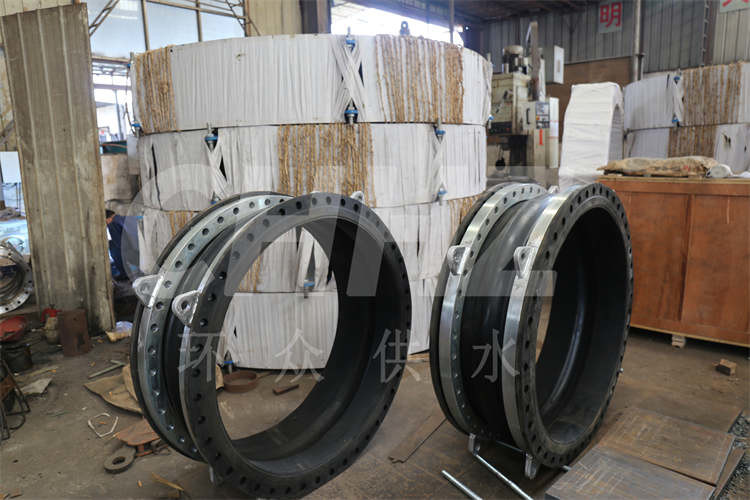
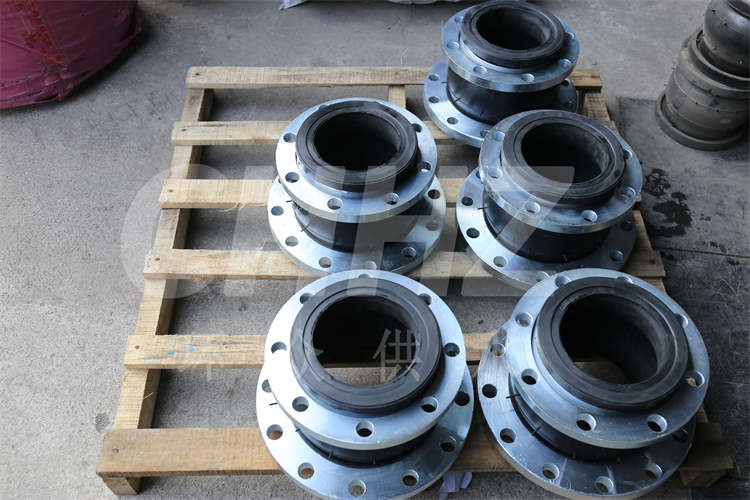
Removing the Finished Product: Once the mold components are separated, carefully remove the finished rubber hose joint from the mold. Take care to avoid damaging the product or the mold surfaces during this step.
Inspecting the Mold: After the product is removed, inspect the mold components for any signs of wear, damage, or contamination. This is an opportunity to identify any maintenance or repair needs to ensure the mold is in optimal condition for the next production cycle.
Cleaning and Maintenance: Thoroughly clean the mold components to remove any residual rubber or debris. Address any maintenance or repair needs identified during the inspection to prepare the mold for future use.
Storing Components: Once cleaned and inspected, store the mold components in a designated area, ensuring they are protected from damage and contamination until the next production run.
By following these steps, you can effectively disassemble a rubber hose joint mold, ensuring the safe removal of the finished product and the maintenance of the mold for continued use. Proper disassembly practices contribute to the overall efficiency and quality of the manufacturing process, allowing for the consistent production of high-quality rubber hose joints. Always adhere to the manufacturer's guidelines and best practices when working with mold disassembly to promote safety, efficiency, and product integrity.