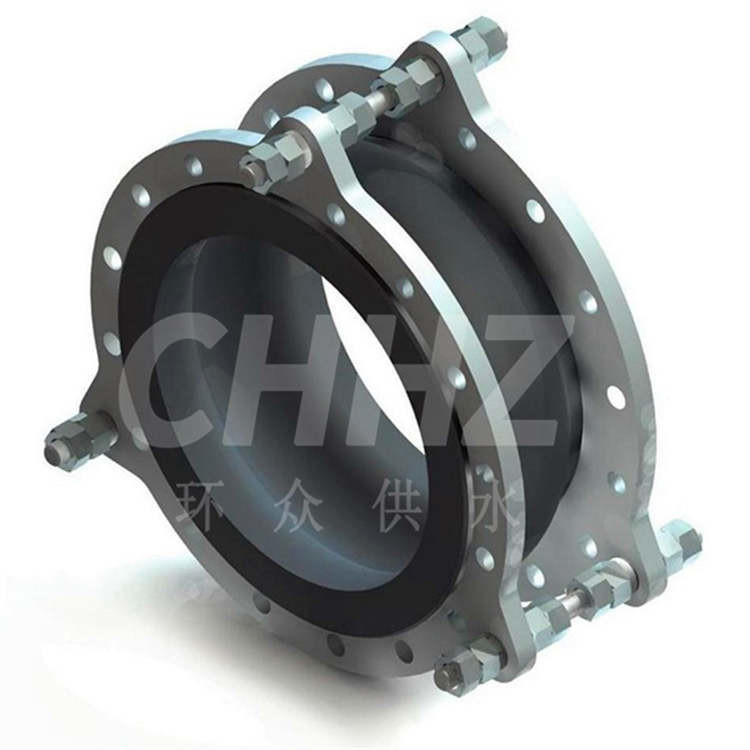
How to Replace the Rubber Sleeve of the Automobile Exhaust Valve Joint
Introduction:The rubber sleeve of the automobile exhaust valve joint plays a critical role in maintaining the integrity of the exhaust system, preventing leaks, and reducing vibrations. Over time, this rubber sleeve may deteriorate and require replacement. Here is a step-by-step guide on how to replace the rubber sleeve of the automobile exhaust valve joint.
1. Preparation:Ensure that the vehicle is parked on a level surface and the engine is completely cool. Gather the necessary tools for the job, including safety goggles, gloves, a wrench, penetrating oil, a screwdriver, and a replacement rubber sleeve that matches the specifications of the exhaust valve joint.
2. Access the Exhaust Valve Joint:Locate the exhaust valve joint on the vehicle, typically positioned between the exhaust manifold and the exhaust pipe. Use penetrating oil to loosen any rusted or corroded bolts or clamps securing the joint.
3. Removal of the Old Rubber Sleeve:Carefully disconnect the clamps or bolts securing the old rubber sleeve to the exhaust pipe and manifold. Slide the old rubber sleeve off the joint and inspect the surrounding area for any signs of damage or corrosion that may need attention.
4. Installation of the New Rubber Sleeve:Clean the mating surfaces on the exhaust pipe and manifold to ensure a proper seal for the new rubber sleeve. Slide the new rubber sleeve onto the joint, ensuring that it is aligned correctly with the exhaust pipe and manifold.
5. Secure the New Rubber Sleeve:Reattach the clamps or bolts to secure the new rubber sleeve to the exhaust pipe and manifold. Ensure that the clamps are tightened to the manufacturer's specifications to prevent leaks or unwanted movement of the rubber sleeve.
6. Inspection and Testing:Once the new rubber sleeve is securely in place, conduct a visual inspection to confirm that all connections are properly aligned and secure. Start the vehicle and listen for any unusual noises or leaks that may indicate a faulty installation.
Clean Up:Dispose of the old rubber sleeve and any waste material in accordance with local regulations. Clean the work area and inspect for any leftover tools or debris.
Conclusion:Replacing the rubber sleeve of the automobile exhaust valve joint is a straightforward process that can help maintain the performance and integrity of the vehicle's exhaust system. Following these steps can ensure a successful replacement and reliable operation of the exhaust valve joint.