How to Remove a Rubber Hose Fitting from a Car
When it comes to automotive maintenance or repair, knowing how to remove a rubber hose fitting from a car can be a valuable skill. Whether you need to replace a worn-out hose or perform a repair, effective removal of the hose fitting is essential. This article will provide a step-by-step guide on how to safely and properly remove a rubber hose fitting from a car.
Step 1: Preparation:Before starting the removal process, make sure the engine is turned off, and the car is parked on a level surface. Additionally, ensure that the area where you will be working is well-lit and adequately ventilated.
Step 2: Wear Protective Gear:Put on a pair of protective gloves and safety goggles to prevent any potential contact with automotive fluids and to protect your hands from sharp edges or hot components.
Step 3: Allow Cooling Time:If the hose is connected to a part of the car that carries hot fluids, such as the radiator or engine, allow sufficient time for the vehicle to cool down before attempting to remove the hose.
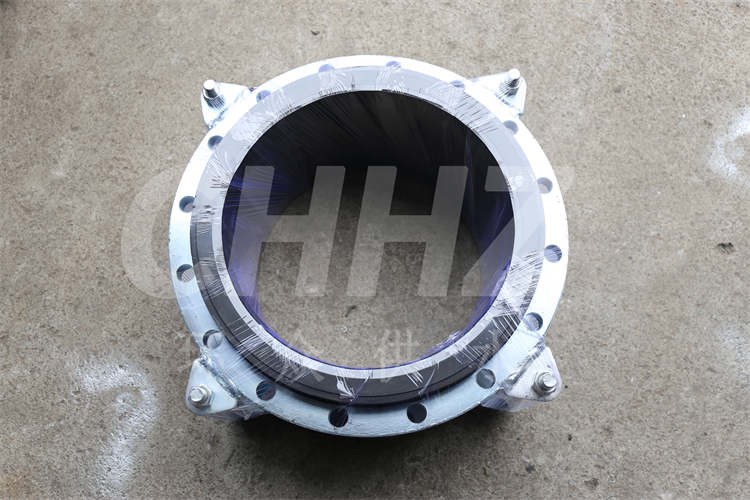
Step 4: Locate and Access the Hose Fitting:Identify the rubber hose that you need to remove and access the fittings at each end of the hose. Depending on the type of fitting, it may be secured with hose clamps, quick-release connectors, or threaded connections.
Step 5: Loosen Hose Clamps:If the hose fitting is secured with hose clamps, use a screwdriver or a socket wrench to loosen the clamps. Slide the clamps away from the fitting to create clearance for removing the hose.
Step 6: Release Quick-Connectors:For quick-release connectors, carefully follow the manufacturer's instructions for disengaging the connectors. This may involve pressing or squeezing specific tabs or levers to release the connection.
Step 7: Unscrew Threaded Connections:In the case of threaded connections, use an appropriate wrench or pliers to unscrew the connections at each end of the hose. Be cautious not to damage the threads during this process.
Step 8: Twist and Pull:Once any securing mechanisms have been released, gently twist and rock the rubber hose fitting to loosen it from the connection points. Take care not to pull or force the hose excessively, as this could damage the hose or the connected components.
Step 9: Inspect and Clean:After removing the hose, inspect the fittings for any signs of damage or wear that may necessitate replacement. Clean the connection points thoroughly to remove any debris or contaminants.
By carefully following these steps, you can successfully remove a rubber hose fitting from a car. Proper removal of hose fittings is crucial for performing automotive maintenance or repair tasks effectively, and it helps to prevent damage to the hose or connected components. Always exercise caution and follow manufacturer guidelines when working on automotive systems.