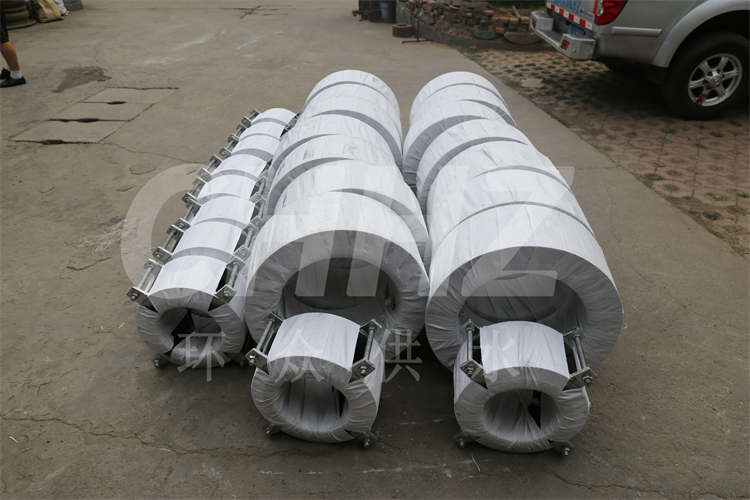
How to Connect Rubber Joints in Engineering Applications
Introduction Rubber joints play a vital role in engineering applications by providing flexibility and vibration isolation within piping systems. Proper installation and connection of rubber joints are essential to ensure optimal performance and longevity. In this article, we will discuss the steps involved in connecting rubber joints in engineering applications to achieve effective and reliable results.
Step 1: Preparation Before connecting rubber joints, it is crucial to ensure that the surrounding area is clean and free of any debris or contaminants. Thoroughly inspect the pipe ends to ensure they are free from damage or irregularities that could impact the effectiveness of the joint. This preparation stage is essential for creating an optimal surface for connecting the rubber joints and ensuring a secure and reliable connection.
Step 2: Alignment Ensure proper alignment of the components that will be connected with the rubber joint. Misalignment of pipes can lead to stress on the joint and compromise its effectiveness. Adjust the positioning of the pipes as needed to achieve proper alignment and ensure that the joint will be able to accommodate any expected movement or deflections within the system.
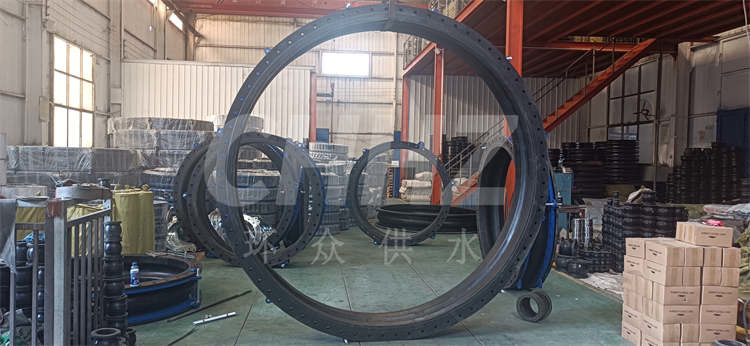
Step 3: Joining the Components When connecting rubber joints in engineering applications, two primary methods are commonly employed: flanged connections and threaded connections. Flanged connections involve bolting the rubber joint between two flanges, providing a secure and leak-proof connection. Threaded connections, on the other hand, involve using threaded adapters to attach the joint to the piping components. In both cases, it is essential to follow the manufacturer's guidelines to ensure that the joint is properly secured and sealed.
Step 4: Tightening and Sealing Depending on the type of connection, the next step involves tightening the bolts or the threaded connections to the manufacturer's recommended torque values. Care should be taken to ensure that the joint is not over-tightened, which could lead to damage, or under-tightened, which could result in leaks. Additionally, inspect the connection to ensure that it is properly sealed and that there are no gaps that could compromise the joint's integrity.
Step 5: Testing After the rubber joint is connected, it is important to conduct a thorough pressure test to ensure that the joint can withstand the operating conditions without any leaks or structural issues. This testing phase helps to verify the effectiveness of the connection and provides assurance that the joint will perform as intended under real-world conditions.
Conclusion In conclusion, proper connection of rubber joints in engineering applications is critical to the overall performance and reliability of piping systems. By following the steps outlined above and adhering to manufacturer specifications, engineers and technicians can ensure that rubber joints are effectively connected, providing the necessary flexibility and vibration isolation within the system. Correctly installed rubber joints contribute to the integrity and longevity of the piping infrastructure, making them an essential component in many engineer