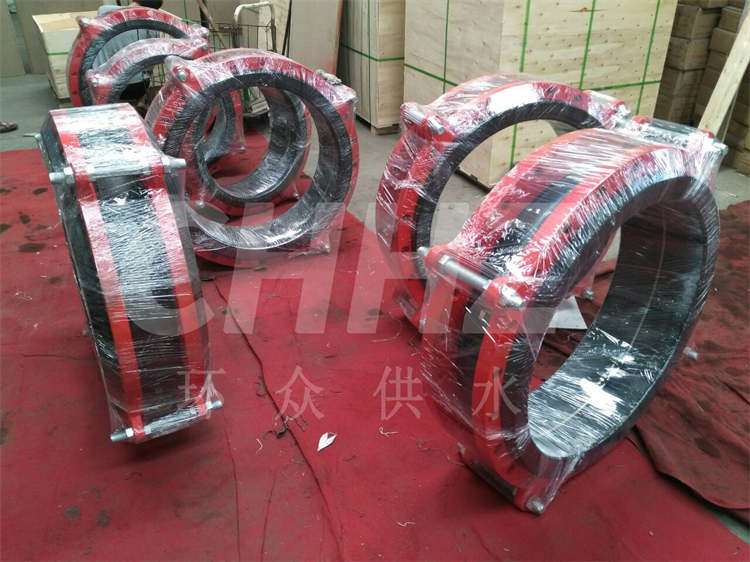
Installation of Threaded Rubber Joint Molds
Installing molds for threaded rubber joints is a critical process that directly affects the quality and performance of the final product. Proper installation ensures accurate shaping and precise thread formation, contributing to the functionality and durability of the rubber joints. This article outlines the essential steps for installing molds for threaded rubber joints, focusing on the key considerations and techniques involved in the process.
Setting Up the Workstation: Before commencing the mold installation, it is imperative to prepare a suitable workstation equipped with the necessary tools and equipment. The workstation should have a stable and level surface to accommodate the mold and provide ample space for maneuvering during the installation process. Standard hand tools and specialized instruments required for mold installation, such as clamps, wrenches, and alignment aids, should be readily accessible.
Preparing the Molding Machine: Next, the molding machine needs to be inspected and prepared for mold installation. This entails ensuring that the machine is powered off and that any residual materials from previous molding processes are cleared. Additionally, the machine's clamping system and alignment mechanisms should be checked to ensure they are in optimal condition for securing the mold in place.
Securing the Mold: The mold for threaded rubber joints is carefully positioned within the molding machine, with attention paid to proper alignment and orientation. Once the mold is in place, it is secured using the designated clamping mechanisms, ensuring a firm and stable attachment to the molding machine to prevent shifting or misalignment during the molding process.
Alignment Verification: To guarantee accurate thread formation and dimensional precision, the alignment of the mold components must be meticulously verified. This involves inspecting the mating surfaces of the mold to ensure they are flush and perfectly aligned. Precision instruments, such as dial indicators or laser alignment tools, may be employed to validate the alignment of critical mold components, especially in high-precision applications.
Tightening and Adjustment: The fasteners securing the mold halves together are tightened to the specified torque, ensuring that the mold components remain firmly connected during the molding process. Any necessary adjustments, such as fine-tuning the position of mold inserts or die segments, may be performed to optimize thread formation and overall part quality.
Operational Checks: Before initiating the rubber molding process, a final round of operational checks is carried out. This may involve verifying the proper functioning of the machine's hydraulic or mechanical systems, confirming the correct temperature settings, and ensuring that safety measures are in place.
Upon successful completion of the mold installation process, the molding machine is ready for production runs, enabling the efficient and precise manufacturing of high-quality threaded rubber joints. Effective mold installation practices, combined with stringent quality control measures, play a pivotal role in ensuring the consistency and accuracy of the produced rubber joint components.