Installation of Rubber Sleeve for Cable Joint
When it comes to the installation of a rubber sleeve for a cable joint, it is essential to ensure a proper and secure fit to maintain the integrity of the joint and protect it from environmental factors. Here is a guide on how to install a rubber sleeve for a cable joint:
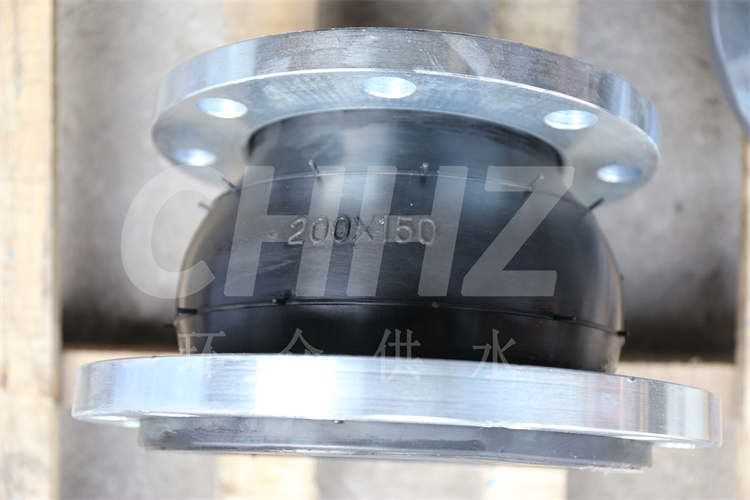
Preparation and Inspection Before beginning the installation process, carefully inspect the cable joint and the rubber sleeve to ensure they are free from any damage or defects. Verify that the rubber sleeve is of the correct size and type for the cable joint to be installed.
Cleaning and Surface Preparation Thoroughly clean the cable joint and the surrounding area to remove any dirt, grease, or moisture. This will ensure a clean and secure bonding surface for the rubber sleeve. Use a suitable cleaning solvent and allow the area to dry completely before proceeding.
Application of Lubricant To aid in the installation process, apply a small amount of lubricant to the interior of the rubber sleeve. This will ease the insertion of the cable joint and facilitate a smooth and consistent fit.
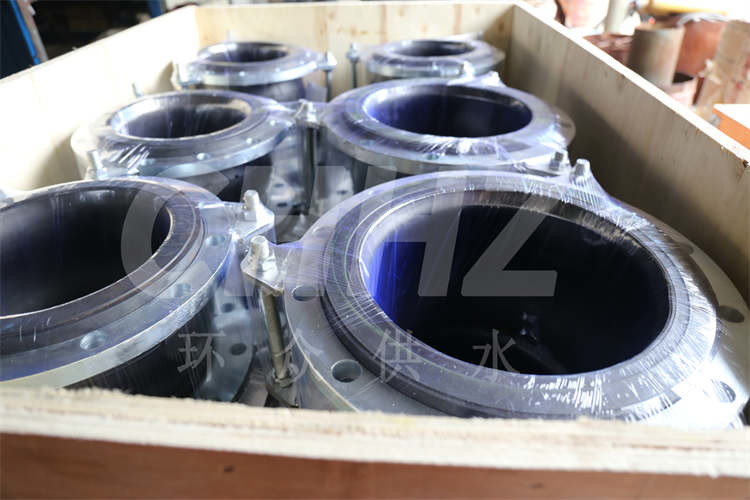
Positioning the Rubber Sleeve Carefully slide the rubber sleeve over the cable joint, ensuring that it is positioned correctly and covers the joint entirely. Take care to avoid any tangles or twists in the sleeve during this process.
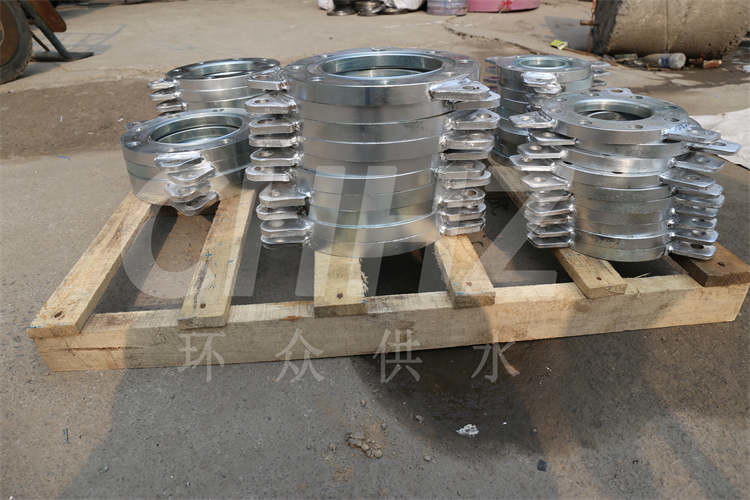
Securing the Sleeve Once the rubber sleeve is placed over the cable joint, ensure that it is secured in position using suitable clamps or ties. These fastening methods will prevent the sleeve from slipping or shifting during subsequent handling or environmental exposure.
Heat Shrink Process If the rubber sleeve is a heat-shrinkable type, use a heat gun or other suitable heat source to apply heat evenly to the sleeve. This will cause the sleeve to shrink and form a tight seal around the cable joint, providing protection from moisture, corrosion, and other external influences.
Inspection and Testing After the installation is completed, carefully inspect the rubber sleeve to verify that it is properly positioned and securely fastened. Test the cable joint to ensure that the rubber sleeve does not interfere with its functionality.
Environmental Protection Finally, consider implementing additional environmental protection measures, such as applying a sealant or protective coating over the rubber sleeve. This will further enhance the durability and longevity of the cable joint assembly.
In summary, the installation of a rubber sleeve for a cable joint involves meticulous attention to detail and adherence to proper procedures. By following these steps, you can ensure a reliable and effective installation, providing long-term protection and performance for the cable joint in various applications.