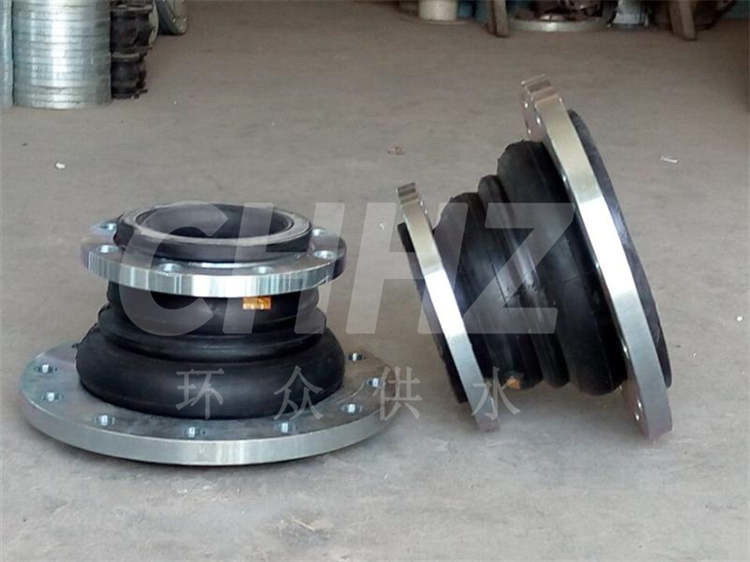
How to Use Rubber Flexible Joint Molds: A Step-by-Step Guide
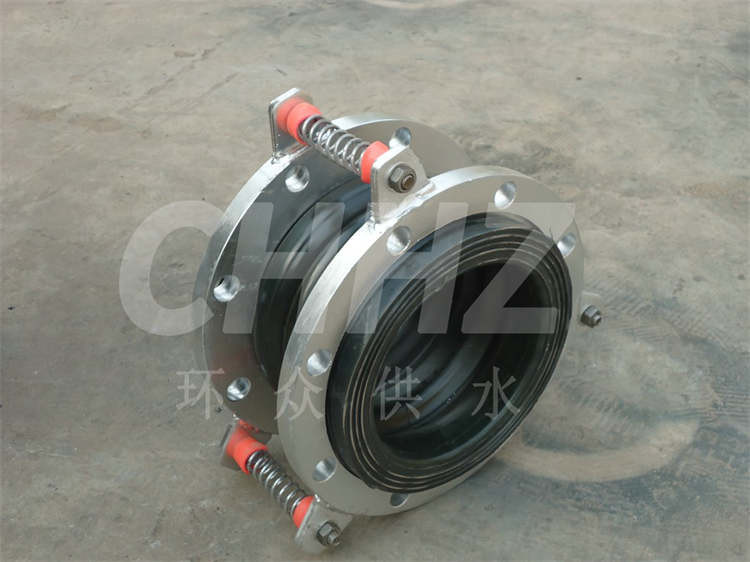
Rubber flexible joints are essential components in various piping systems, offering flexibility and vibration isolation to accommodate movements and mitigate stresses. Using the appropriate molds for fabricating these joints is crucial for ensuring precise dimensions and quality. Here is a comprehensive guide on how to effectively utilize rubber flexible joint molds in the manufacturing process.
Step 1: Mold Preparation Start by ensuring that the rubber flexible joint mold is clean and free from any debris or residue. Apply a thin, even layer of mold release agent to the interior surface of the mold. This ensures easy release of the finished product and prevents sticking.
Step 2: Mixing the Rubber Compound Prepare the rubber compound according to the manufacturer's recommended guidelines. This typically involves thoroughly mixing the base rubber material with curing agents, fillers, and additives in specified proportions. Ensure that the mixture is uniform and free from any lumps or air bubbles.
Step 3: Molding Process Carefully pour the prepared rubber compound into the mold cavity, ensuring that it is evenly distributed and fills all the intricate contours of the mold. Use a spatula or similar tool to level the surface of the compound and remove any excess material.
Step 4: Curing After filling the mold, place it into an appropriate curing apparatus such as a vulcanization press or autoclave. Apply heat and pressure as per the curing specifications for the rubber compound being used. Monitor the curing process to ensure that the rubber material achieves the desired level of hardness and resilience.
Step 5: Demolding Once the rubber compound has been properly cured, carefully remove the mold from the curing apparatus. Open the mold and gently extract the newly formed rubber flexible joint. Take care to avoid causing any damage to the molded part during demolding.
Step 6: Inspection and Finishing Inspect the finished rubber flexible joint for any defects, such as air pockets, uneven surfaces, or imperfections. Trim any excess material and perform any necessary finishing operations to achieve the desired dimensional accuracy and surface quality.
Step 7: Quality Control Conduct thorough quality control checks to ensure that the molded rubber flexible joint meets all specified requirements, including dimensions, physical properties, and performance characteristics. This may involve conducting tests for hardness, tensile strength, elongation, and other relevant parameters.
By following these step-by-step guidelines for using rubber flexible joint molds, manufacturers can ensure the production of high-quality rubber joints that meet the stringent demands of various piping systems. Attention to detail, precision in mold preparation and rubber compound mixing, as well as adherence to curing and inspection processes, are critical for achieving consistent and reliable results in the fabrication of rubber flexible joints.