How to Install Rubber Flexible Joints for Fire Safety Valves
Introduction Rubber flexible joints are vital components for ensuring the proper functionality of fire safety valves in industrial and commercial settings. This article provides essential guidelines and instructions for the installation of rubber flexible joints, emphasizing the significance of proper installation techniques in maintaining the integrity and effectiveness of fire safety systems.
Preparation Before commencing the installation of rubber flexible joints, it is imperative to prepare the work area and gather the necessary tools and materials. Ensure that the area around the fire safety valve is clear of any obstructions, and that the valve itself is in a closed position to prevent accidental discharge. Additionally, gather the rubber flexible joints, appropriate flanges, gaskets, bolts, and nuts required for the installation.
Inspection and Alignment Carefully inspect the rubber flexible joints to ensure that they are undamaged and free from any defects. Verify that the joints are compatible with the specific requirements of the fire safety valve and that they are suitable for the intended application. Prior to installation, align the joints with the flange connections on the fire safety valve to ensure a proper fit and alignment of the components.
Installation Process
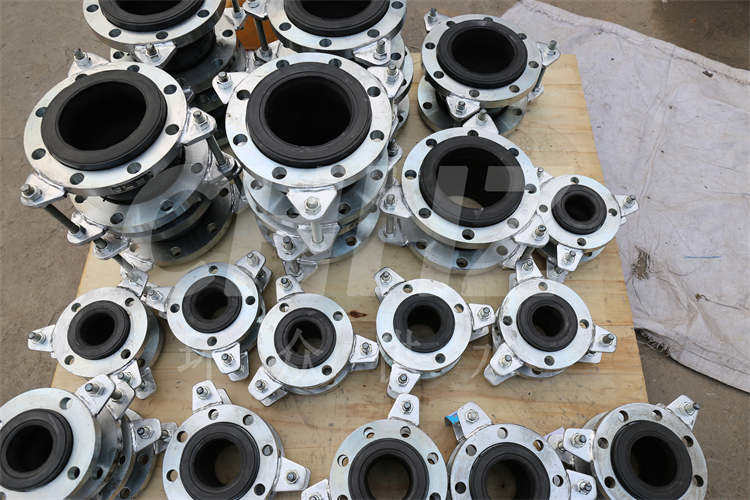
Positioning: Carefully position the rubber flexible joint between the flanges of the fire safety valve, ensuring that the joint is centered and aligned with the bolt holes on the flanges.
Gasket Placement: Place the appropriate gaskets between the rubber flexible joint and the flanges to provide a sealing interface and prevent leakage.
Bolt Insertion: Insert the bolts through the bolt holes on the flanges and the rubber flexible joint, securing them in place for the subsequent tightening process.
Nut Fastening: Fasten the nuts onto the bolts and ensure that they are tightened evenly and securely, creating a uniform clamping force across the joint.
Tightening Procedure Using a torque wrench, gradually tighten the nuts in a crisscross pattern, applying equal torque to each nut to achieve uniform compression of the gaskets and a secure connection. Refer to the manufacturer's specifications for the recommended torque values to be applied during the tightening process, ensuring that the rubber flexible joint is properly seated and sealed against the flanges.
Post-Installation Verification After completing the installation, visually inspect the rubber flexible joint and its connections to verify that the components are properly aligned and securely fastened. Conduct a pressure test on the fire safety valve to ensure that the joint effectively withstands the system pressure without any signs of leakage or instability.
Conclusion The installation of rubber flexible joints for fire safety valves is a critical process that demands precision, attention to detail, and adherence to industry standards and best practices. By following the aforementioned guidelines and recommendations, maintenance personnel and installation teams can ensure the proper functioning and reliability of fire safety systems through the effective installation of rubber flexible joints. Regular maintenance and inspection of these joints are also essential for preserving their integrity and contributing to the overall safety of industrial facilities and public spaces.