How to Connect Flanged Rubber Expansion Joints to Valves
Connecting flanged rubber expansion joints to valves is a critical aspect of pipeline installation and requires precision and attention to detail to ensure optimal performance and longevity. Properly executed connections can minimize stress, strain, and vibration in the piping system, ultimately contributing to its reliability and effectiveness. This article outlines the essential steps and considerations for effectively connecting flanged rubber expansion joints to valves.
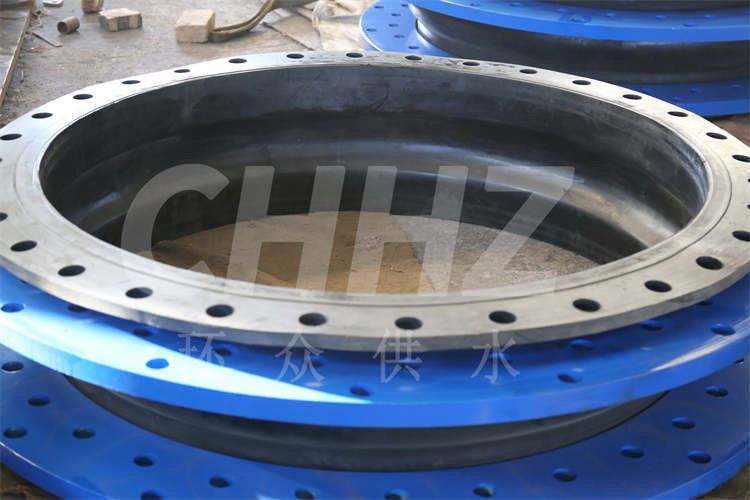
Inspection: Before starting the connection process, thoroughly inspect the flanged rubber expansion joint, the valve, and the adjoining pipeline to ensure they are free from damage, defects, or contaminants. Verify that the flange dimensions and drilling pattern of the expansion joint match those of the valve and the surrounding piping. Additionally, ensure that the workspace is clear and accessible for the installation process.
Alignment: Accurately align the flanged rubber expansion joint with the valve and the pipeline to ensure proper fit and positioning. Precision alignment is crucial for minimizing stress on the joint and valves during operation. Utilize measurement tools and ensure that the components are aligned in accordance with industry standards and manufacturer specifications.
Flange Assembly: Securely bolt the flanged rubber expansion joint to the valve and the adjacent pipeline using the recommended gaskets and fasteners. Adhere to the specified bolting torque and sequence provided by the manufacturer to ensure a uniform and secure connection. It is essential to avoid over-tightening, which can result in gasket deformation or joint damage.
Sealing: Apply an appropriate sealant compatible with the materials of the expansion joint, valve, and pipeline to ensure a reliable and leak-free connection. The sealant should provide resistance to corrosion, pressure, and temperature variations, while ensuring flexibility to accommodate movement in the piping system. Carefully inspect the sealant application to verify complete coverage and proper adherence.
Support: Provide adequate support for the flanged rubber expansion joint to minimize mechanical stress and distortions. Consider the use of support structures such as anchor points or guide brackets to ensure the stability of the joint and alleviate undue loads on the valve. Proper support contributes to the long-term integrity and functionality of the connected components.
Testing: Conduct a comprehensive pressure and functional test on the newly connected flanged rubber expansion joint and valve to verify the integrity of the joint and its operational performance. Adhere to industry standards and project specifications for testing procedures and acceptance criteria, ensuring that the installation meets the required performance parameters.
In conclusion, the successful connection of flanged rubber expansion joints to valves involves meticulous inspection, precise alignment, secure flange assembly, effective sealing, proper support, and thorough testing. By following these essential steps and best practices for installation, operators can ensure a reliable and durable pipeline system capable of withstanding the rigors of everyday operation.