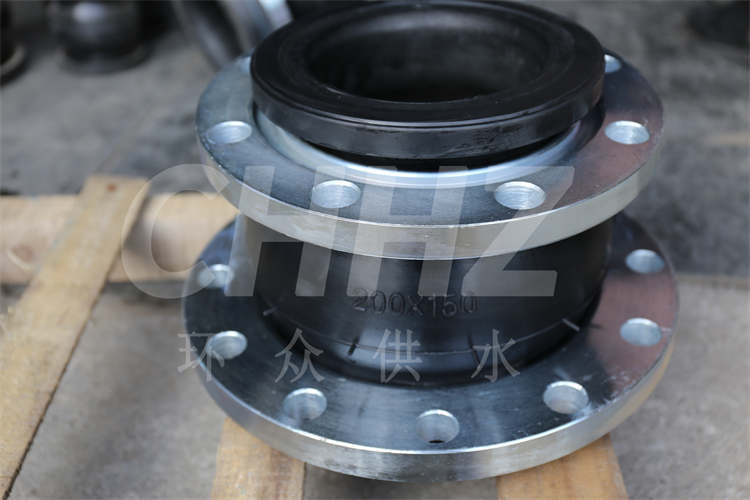
How to Connect Metal Rubber Hose Joints
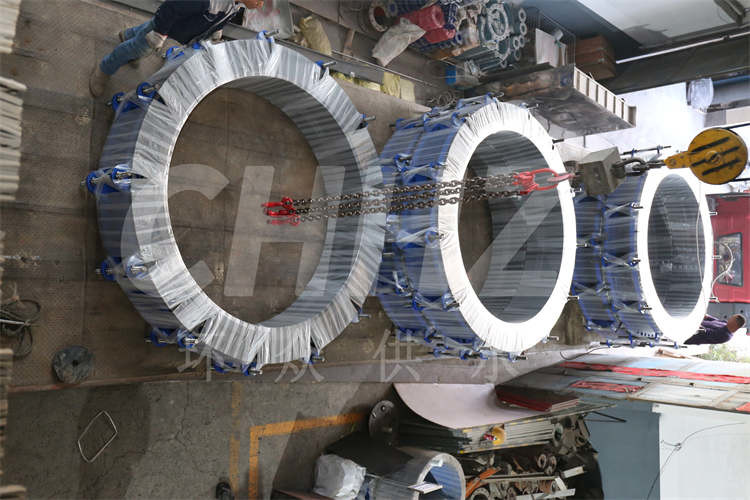
Metal rubber hose joints play a critical role in various industrial and automotive applications, providing a flexible and reliable connection between metal pipes and rubber hoses. Proper installation of these joints is essential to ensure the efficient transfer of fluids, withstand pressure and vibration, and maintain a secure seal. This article outlines the steps for connecting metal rubber hose joints, emphasizing the importance of correct procedures for optimal performance and safety.
Step 1: Preparation Before beginning the installation process, ensure that the metal and rubber components are clean, free from debris, and undamaged. Thoroughly inspect the metal pipes and rubber hoses to verify that they are compatible in terms of size, thread type, and design. Additionally, check for any signs of wear, corrosion, or deterioration that could affect the integrity of the connection.
Step 2: Assembly Start by sliding the metal joint onto the end of the rubber hose, ensuring a snug fit. It is important to insert the metal joint without any twisting or kinking of the rubber hose, as this can compromise the integrity of the connection. Once the joint is in place, secure it by using clamps or other appropriate fastening methods to ensure a tight and stable connection between the metal and rubber components.
Step 3: Sealing Apply an appropriate sealing compound or jointing material to the threaded portion of the metal joint to prevent leakage and promote a secure seal. This step is crucial for preventing fluid or gas leaks and maintaining the integrity of the connection, especially under high-pressure conditions. Carefully follow the manufacturer's recommendations for the selection and application of the sealing material to ensure optimal performance.
Step 4: Installation After the metal and rubber components are assembled and sealed, carefully position the connected assembly within the designated location in the machinery, vehicle, or industrial system. Pay attention to the alignment and orientation of the joint to minimize stress on the rubber hose and ensure that the joint is not subjected to excessive bending or torsion during operation.
Step 5: Testing Once the assembly is in place, conduct a thorough system check to verify that the metal rubber hose joints are functioning as intended. Test for leaks, pressure resistance, and overall stability of the connection. Address any issues or concerns promptly to prevent potential performance issues or safety hazards.
In conclusion, the proper installation of metal rubber hose joints is crucial for the efficient operation and safety of industrial and automotive systems. By following the outlined steps and adhering to best practices, the integrity and reliability of the connection can be assured, contributing to the optimal performance of fluid transfer applications.