the general process and some key points to consider
When connecting rubber joints in valve wells, it is crucial to ensure that the joints are installed correctly and securely. The following steps typically outline the process:
Safety Precautions: Before beginning any work, it is important to carry out a safety assessment of the work area and ensure that appropriate safety measures are in place.
Inspection: Prior to installation, carefully inspect the rubber joints to ensure that they are free from any defects or damage. Additionally, inspect the valve well to ensure it is clean and free from any debris.
Preparation: Clean the connecting surfaces of the pipes and the rubber joints to ensure compatibility and proper adhesion of the joint to the pipe. This step is important to ensure a leak-free and secure connection.
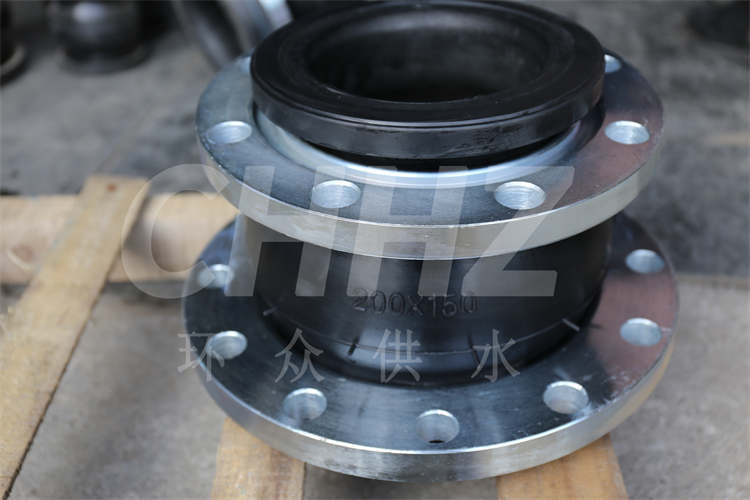
Installation: Apply an appropriate adhesive or lubricant as prescribed by the manufacturer to the joint surfaces and carefully connect the rubber joint to the pipes in the valve well. Ensure that the joint is properly aligned and fitted securely onto the pipes.
Testing: After the installation, conduct a pressure or leakage test to ensure that the joint is securely connected and to identify any potential issues.
Additionally, it is important to follow any specific manufacturer guidelines and standards relating to the installation and connection of rubber joints in valve wells. Compliance with these guidelines will help to ensure the longevity and effectiveness of the joint.