Connecting Metal and Rubber Hoses: A Step-by-Step Guide
When it comes to joining metal and rubber hoses, it's essential to follow the proper procedures to ensure a secure and reliable connection. Whether for industrial, automotive, or plumbing applications, the seamless integration of metal and rubber hoses is crucial for maintaining fluid or gas transfer integrity. This article presents a step-by-step guide on how to effectively connect metal and rubber hoses, outlining the necessary tools, techniques, and considerations for achieving a successful and durable joint.
Step 1: Gather the Required Tools and Materials Before beginning the connection process, gather the necessary tools and materials, including metal hose clamps, rubber hose fittings, a hose cutter, lubricant, and safety gloves. Ensure that the metal and rubber hoses are of the appropriate sizes and specifications for the intended application.
Step 2: Cut the Rubber Hose to Length Using a hose cutter, carefully trim the rubber hose to the desired length, ensuring a clean and straight cut. It's crucial to measure and cut the rubber hose accurately to achieve an optimal fit with the metal hose and fittings.
Step 3: Lubricate the Hose End Apply a small amount of lubricant to the end of the rubber hose. This lubrication will facilitate the insertion of the hose onto the metal fitting and reduce friction during the connection process.
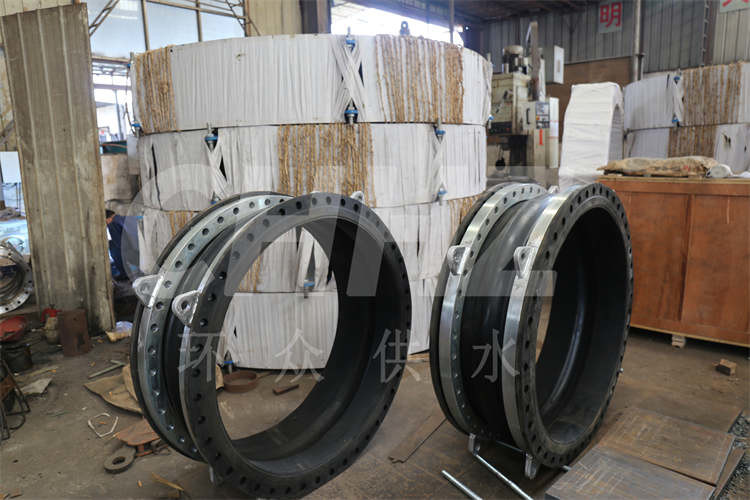
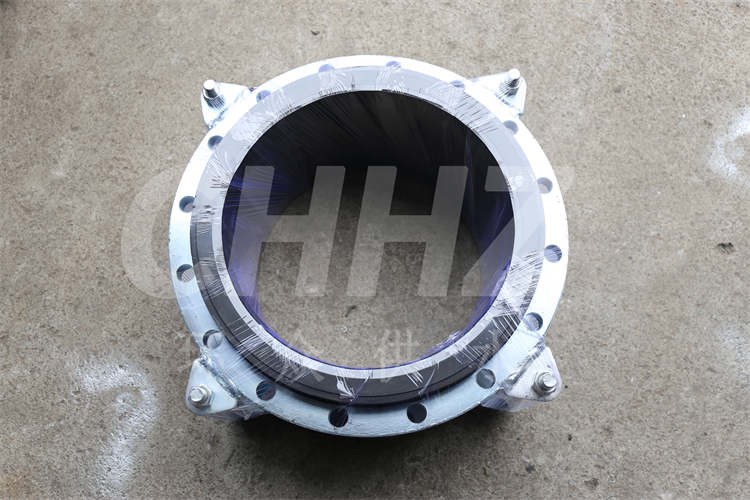
Step 4: Insert the Rubber Hose onto the Metal Fitting Carefully slide the lubricated end of the rubber hose onto the metal fitting, ensuring a snug and secure fit. Apply gentle pressure and twisting motions, if necessary, to assist the hose in fully seating onto the metal fitting.
Step 5: Install the Hose Clamp Once the rubber hose is securely in place on the metal fitting, position the hose clamp over the joint. Tighten the hose clamp using an appropriate tool, such as a screwdriver or wrench, to create a firm and leak-resistant connection. It's important to ensure that the hose clamp is properly tightened without over-torquing, which could damage the rubber hose or fitting.
Step 6: Conduct a Leakage Test After completing the connection, perform a leakage test by pressurizing the system with the intended fluid or gas. Inspect the joint for any signs of leakage or seepage, and make adjustments to the hose clamp if necessary to achieve a watertight or airtight seal.
Step 7: Secure and Protect the Joint To prevent accidental disconnection or damage to the joint, secure the metal and rubber hoses in their designated positions using appropriate hangers, brackets, or clamps. Additionally, consider employing protective sleeves or covers to shield the joint from external hazards or environmental influences, enhancing its longevity and reliability.
By following these step-by-step instructions, you can effectively connect metal and rubber hoses, ensuring a robust and durable joint that meets the requirements of your specific application. Adhering to best practices for hose connection not only promotes operational efficiency but also contributes to the safety and functionality of fluid or gas transfer systems across various industries and domains.