Rubber Joint Tutorial: Understanding Construction and Installation
Rubber joints, also known as expansion joints, play a vital role in piping systems by providing flexibility and absorbing movements, vibrations, and shocks. This tutorial aims to provide an overview of the construction and installation of rubber joints.
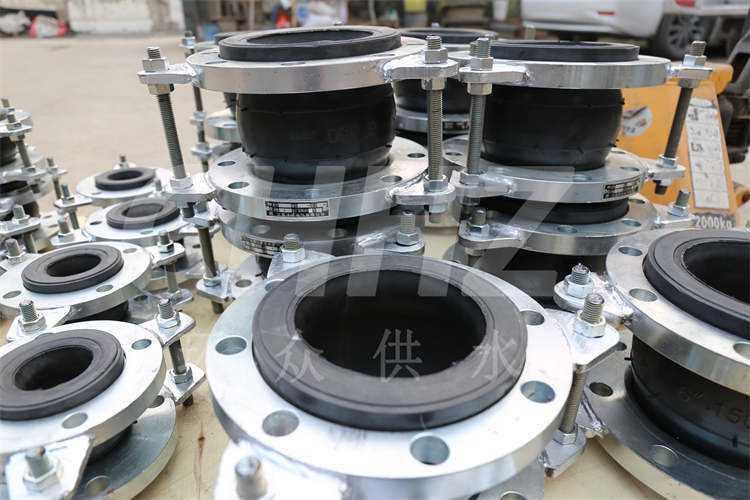
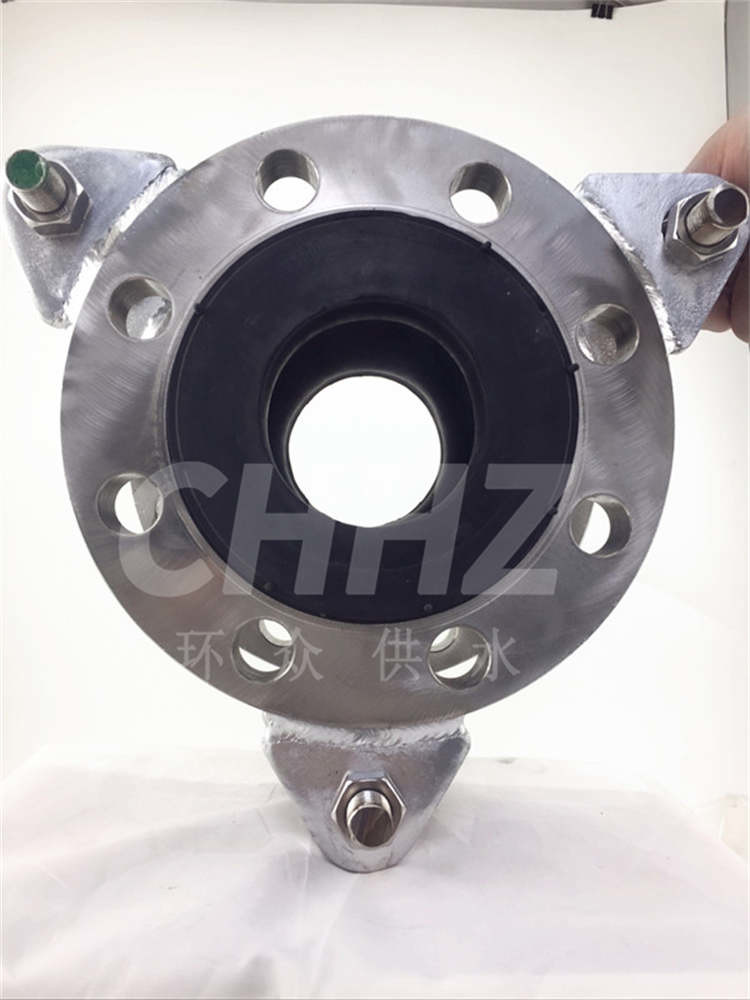
Construction of Rubber Joints:Rubber joints are constructed with durable materials to ensure longevity and reliability in demanding industrial applications. The basic components of a rubber joint include:1. Rubber Body: The core of a rubber joint comprises a resilient rubber body that can accommodate movements and vibrations. The rubber used in the body is often a specialty compound like EPDM, Neoprene, or Nitrile, chosen for its resistance to chemicals, temperature, and weathering.2. Reinforcement: To enhance the strength and stability of the rubber joint, it may include internal reinforcements such as nylon cords, metal rings, or aramid fabric. These reinforcements prevent excessive expansion and provide structural support to the joint, especially under pressure.3. Flanges: At each end of the rubber joint, flanges are attached to enable easy connection to the existing piping system. These flanges are typically made of carbon steel or stainless steel and are designed to match industry-standard flange dimensions.4. Control Units: Depending on the specific application, rubber joints may incorporate control units. This can include control rods to limit movement, molded arches to optimize deflection, or other specialized features to tailor the joint to the demands of the system.
Installation of Rubber Joints:Proper installation is crucial to the performance and longevity of a rubber joint. The following steps outline a typical installation process:1. Inspection: Before installation, thoroughly inspect the rubber joint for any defects or damage. Check the flanges, rubber body, and reinforcements to ensure they are in optimal condition.2. Alignment: Align the rubber joint with the flanged connection points on the piping system. Ensure that the flange bolt holes are properly aligned to facilitate a secure and leak-free connection.3. Sealing: Place a gasket between the flange faces to create a tight seal. The gasket material should be compatible with the fluid and temperature conditions of the application.4. Bolt Tightening: Gradually tighten the flange bolts in a diagonal pattern to evenly distribute the load and achieve a uniform compression of the gasket. Follow the recommended torque specifications for the specific flange and bolt material.5. Testing: Once the rubber joint is installed, perform a pressure test to verify its integrity and confirm that it can withstand the anticipated operating conditions without leaks or excessive movements.
By understanding the construction and installation of rubber joints, engineers and maintenance personnel can ensure the effective operation of piping systems while minimizing the risk of leaks, bursts, and structural damage.
In conclusion, rubber joints are indispensable components in piping systems, and proper knowledge of their construction and installation is essential for their effective use. Mastering the techniques discussed in this tutorial can contribute to the reliability and longevity of rubber joints in various industrial applications.