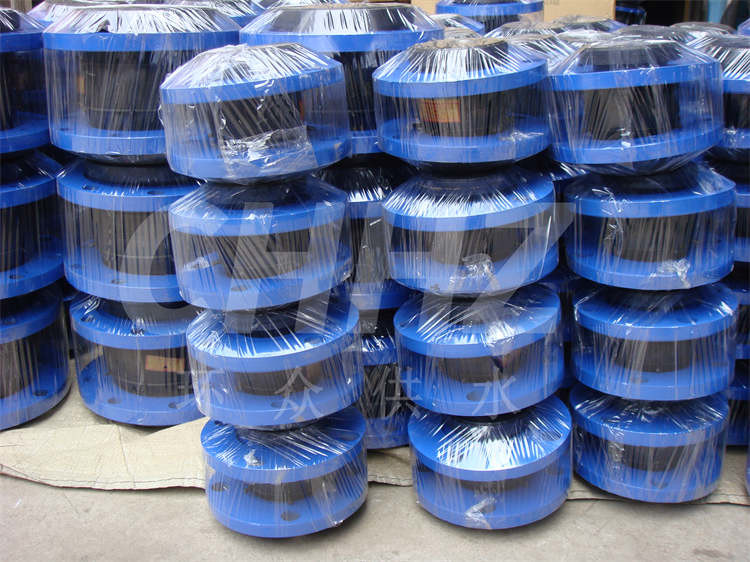
Disassembly Method of Automotive Rubber Joints
Automotive rubber joints are an integral part of a vehicle's suspension system, contributing to the smooth and reliable operation of the vehicle. Over time, these joints may require replacement due to wear and tear. This article provides a detailed guide on the disassembly method of automotive rubber joints.
Preparation: Before initiating the disassembly process, ensure that the vehicle is parked on a level surface and that the parking brake is engaged. Additionally, for safety purposes, it is advisable to use wheel chocks to prevent any unintended movement of the vehicle.
Lifting the Vehicle: To access the rubber joints, the vehicle needs to be raised using a hydraulic jack or a vehicle lift. Lift the vehicle to a height that provides sufficient clearance for working underneath and around the suspension components.
Removing the Wheel: Once the vehicle is safely lifted, remove the wheel from the side of the vehicle where the rubber joint disassembly is required. Use an appropriate lug wrench to loosen the lug nuts and then carefully remove the wheel from the hub.
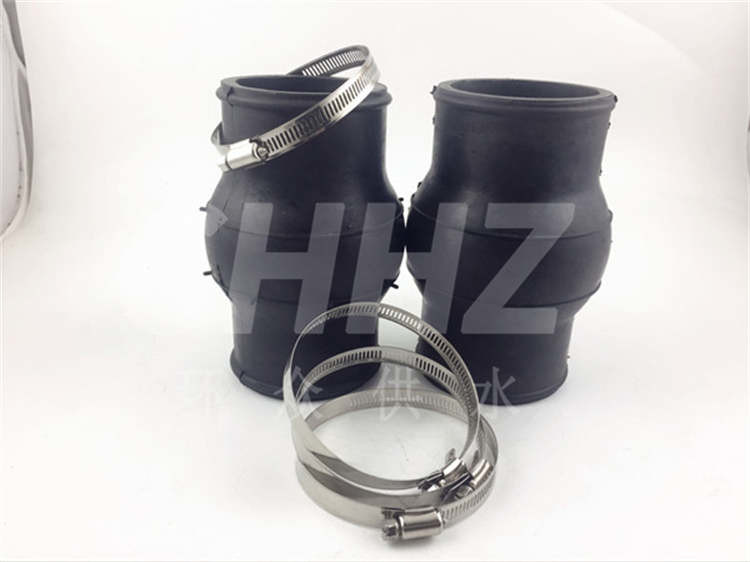
Locating the Rubber Joint: Identify the specific rubber joint that needs to be disassembled. This may include ball joints, tie rod ends, or other suspension-related rubber components. Refer to the vehicle's service manual or consult with a qualified mechanic to accurately locate the joint.
Unfastening the Fasteners: Using the appropriate tools, such as wrenches, sockets, and breaker bars, unfasten the fasteners that secure the rubber joint to the suspension components. This may involve removing castle nuts, cotter pins, or retaining bolts, depending on the specific joint being addressed.
Separating the Joint: Once the fasteners are removed, the joint needs to be separated from the suspension component. In the case of ball joints, a ball joint separator or pickle fork may be used to disengage the joint from the steering knuckle or control arm. Carefully apply force as needed to separate the joint, being mindful of surrounding components.
Inspecting the Joint: After the joint is disassembled, inspect the rubber component and associated hardware for signs of damage, wear, or deformation. It is crucial to assess the condition of the joint to determine if replacement is necessary.
Reassembly Considerations: If the inspection reveals the need for a replacement joint, ensure that the new rubber joint is of the correct specification and quality. When reassembling, follow the torque specifications and tightening sequences outlined in the vehicle's service manual to ensure proper installation.
Reinstalling the Wheel: After the rubber joint disassembly and any necessary replacements or repairs have been completed, reinstall the wheel and securely tighten the lug nuts following the recommended torque values.
Lowering the Vehicle: Carefully lower the vehicle using the hydraulic jack or vehicle lift and remove the wheel chocks. Conduct a final inspection to verify that all components, including the replacement rubber joint, are properly seated and secured.
In conclusion, the disassembly of automotive rubber joints involves a systematic approach, prioritizing safety and precision to maintain the integrity of the vehicle's suspension system. Always refer to the appropriate vehicle service manual and consult with qualified professionals when performing such procedures. By adhering to recommended practices, the disassembly and replacement of automotive rubber joints can be accomplished effectively and safely.