How to Install Rubber Joints for Engineering Applications
Rubber joints play a critical role in engineering applications, allowing for the absorption of vibration, thermal expansion, and misalignment in piping systems. Proper installation of rubber joints is essential to ensure optimal performance and longevity of the system. This article provides a comprehensive guide on the installation of rubber joints in engineering applications, outlining the necessary steps and best practices for seamless integration into piping systems.
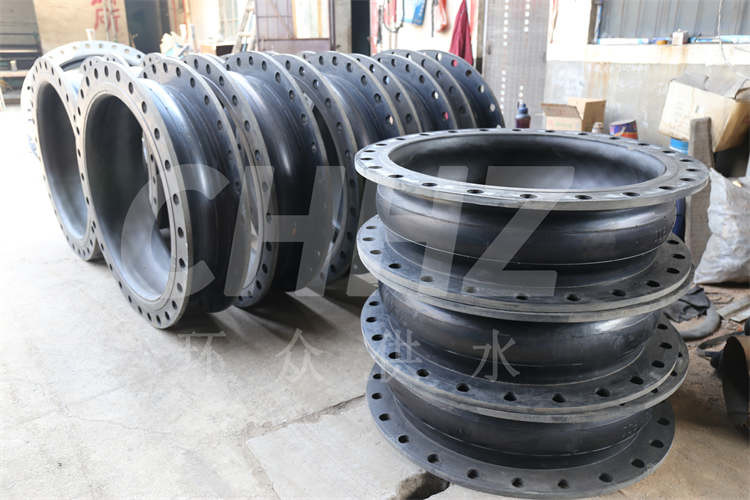
Pre-Installation Inspection: Before installing rubber joints, it is essential to conduct a thorough inspection of the components. Verify that the rubber joints are free from any defects, damage, or foreign particles that could compromise their functionality. Additionally, ensure that the flange connections and joining pipes are clean, smooth, and aligned to facilitate proper installation.
Selection of Mounting Location: Identify the optimal location for installing the rubber joint within the piping system. Consider factors such as accessibility for maintenance, proximity to equipment, and compatibility with the system's design requirements. The selected location should allow for unrestricted movement of the rubber joint to accommodate expansion, contraction, and deflection.
Alignment and Positioning: Carefully align the rubber joint with the joining pipes and flange connections to ensure a proper fit. Verify that the joint is positioned to accommodate movement and misalignment without imposing undue stresses or constraints on the system. Proper alignment is crucial to mitigate the risk of premature wear or failure of the rubber joint.
Flange Connection: Securely attach the rubber joint to the adjoining pipes using appropriate flange connections. Ensure that the bolts and nuts are tightened uniformly and to the specified torque values to establish a leak-proof seal. Utilize gaskets as needed to enhance the sealing performance of the flange connections and mitigate the risk of fluid or gas leakage.
Support and Anchoring: Provide adequate support and anchoring for the piping system to accommodate the weight and movement of the rubber joint. Incorporate hangers, brackets, or supports as necessary to prevent excessive stress on the joint and maintain its intended position within the system. Proper support helps to prolong the service life of the rubber joint by reducing mechanical strain and fatigue.
Alignment Checks: Following installation, conduct comprehensive checks to verify the alignment and positioning of the rubber joint. Ensure that the joint allows for unrestricted movement in response to system dynamics and environmental influences. Rectify any misalignments or constraints that may impede the flexibility of the rubber joint within the piping system.
Testing and Commissioning: Upon completion of the installation, perform functional tests and commissioning procedures to validate the integrity and performance of the rubber joint. Conduct pressure tests, vibration assessments, and thermal expansion evaluations to confirm that the joint operates as intended under various operating conditions.
Ongoing Maintenance and Monitoring: Establish a routine maintenance schedule to inspect the rubber joint and associated piping system for signs of wear, degradation, or misalignment. Implement proactive measures to address any emerging issues and ensure the continued reliability of the joint throughout its service life.
In summary, the successful installation of rubber joints in engineering applications requires meticulous attention to detail, proper alignment, and adherence to best practices for anchoring, support, and maintenance. By following the outlined guidelines, engineers can ensure the seamless integration of rubber joints into piping systems, thereby optimizing their performance, durability, and operational functionality.