Disassembly Method of Electrical Conduit Rubber Joint
In the electrical industry, the disassembly of electrical conduit rubber joints is a crucial task that requires careful handling to ensure the safety and integrity of the electrical systems. This article presents a comprehensive guide on the disassembly method of electrical conduit rubber joints, outlining the necessary steps and precautions for a safe and efficient disassembly process.
Preparation and Safety Measures: Before initiating the disassembly process, it is essential to ensure that the electrical power to the conduit has been safely shut off and isolated. Additionally, personal protective equipment (PPE) such as gloves, eye protection, and appropriate clothing should be worn to prevent injuries during the disassembly.
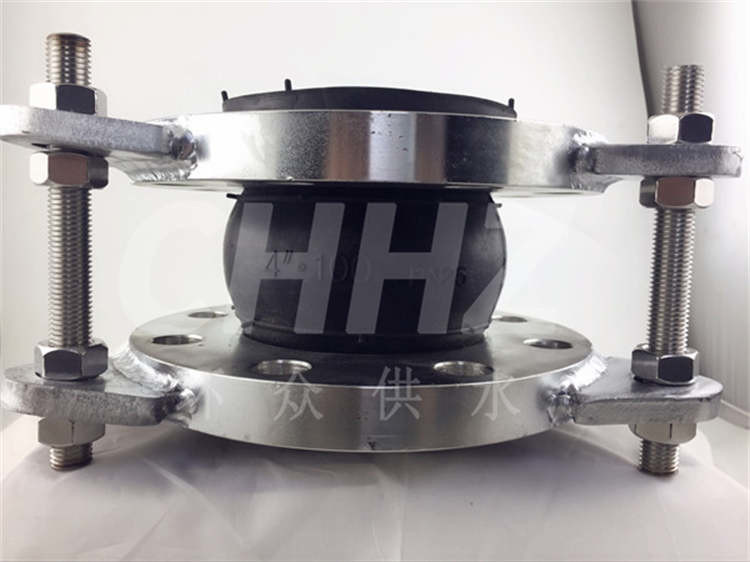
Loosening Fasteners and Clamps: The first step in disassembling the electrical conduit rubber joint involves loosening the fasteners and clamps that secure the joint in place. Using suitable hand tools such as wrenches or screwdrivers, carefully loosen and remove the fasteners without applying excessive force to avoid damaging the joint or surrounding components.
Inspecting and Assessing the Joint: Once the fasteners and clamps are removed, perform a visual inspection of the rubber joint and surrounding areas. Look for any signs of damage, wear, or deterioration that may necessitate replacement or repair. Additionally, check for the presence of foreign objects or debris within the joint that could impede the disassembly process.
Application of Lubricants or Release Agents: In cases where the rubber joint exhibits resistance to disassembly due to prolonged use or environmental exposure, the application of appropriate lubricants or release agents can facilitate the separation of the joint components. Carefully apply the lubricant to the mating surfaces of the joint and allow it to penetrate before attempting to disassemble the joint further.
Gentle Separation of Components: Using controlled and gentle force, begin to separate the components of the rubber joint. Take care to apply force evenly and avoid abrupt movements that may cause damage to the joint or adjacent electrical equipment. If necessary, gently tap or pry the joint components apart, ensuring that no excessive force is applied.
Removal of Sealing Elements and Gaskets: As the joint components are separated, carefully remove any sealing elements or gaskets that may be present. Inspect these elements for signs of wear, damage, or deterioration and replace them as needed to maintain the integrity of the electrical conduit system.
Proper Storage and Handling: Upon successful disassembly, store the rubber joint components in a clean and organized manner to prevent contamination or damage. Consider labeling the components for identification and ensure that they are protected from environmental factors that could compromise their integrity.
Inspection of Contact Surfaces: After disassembly, inspect the contact surfaces of the electrical conduit and associated components for signs of corrosion, abrasion, or wear. Clean and rectify any issues to prepare the system for the installation of a new rubber joint or any necessary repairs.
In summary, the disassembly of electrical conduit rubber joints requires meticulous attention to safety, proper tools, and techniques to ensure the preservation of the electrical system's integrity. By following the outlined steps and adhering to safety guidelines, electrical professionals can effectively disassemble rubber joints and assess the condition of the conduit systems for subsequent maintenance or repair activities.