How to Install Rubber Flexible Joints for Water Pipe Valves
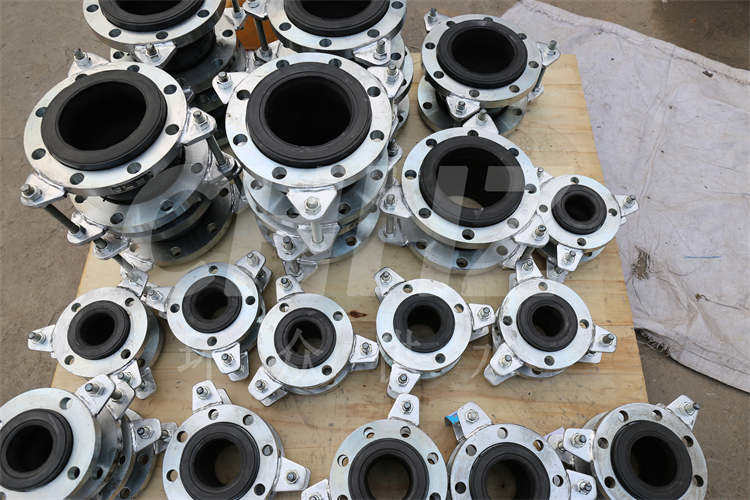
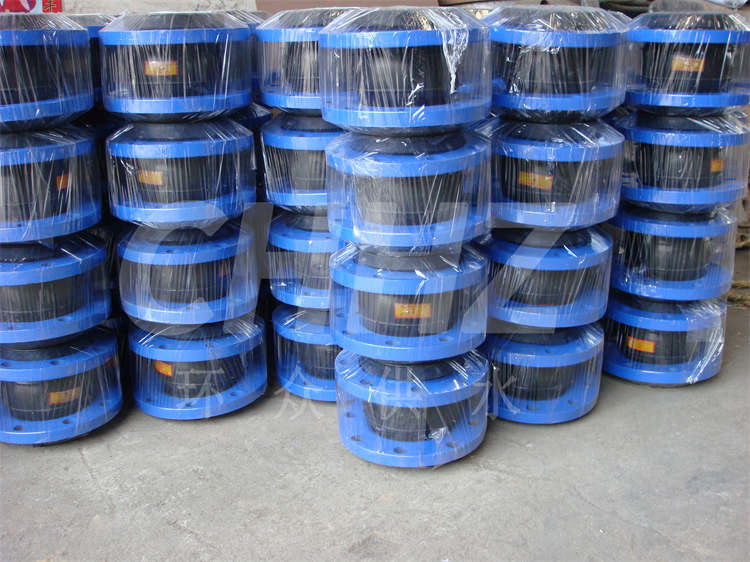
Rubber flexible joints are essential components in piping systems, especially in water distribution networks. They provide flexibility and absorb vibrations, reducing stress on pipeline systems and preserving the integrity of valves and pipes. Here are the steps for installing rubber flexible joints for water pipe valves:
Assessment and Preparation: Before installation, assess the location and consider the space available for accommodating the rubber flexible joint. Ensure that the rubber joint is compatible with the pipe and valve materials. Clean the pipe ends and valve connections to remove any dirt, debris, or rust that could hinder a secure seal.
Measurement and Alignment: Measure the distance between the pipe ends and the valve outlet to determine the required length of the rubber flexible joint. Align the joints with the pipe and valve connections, ensuring that they are positioned accurately and securely in place.
Lubrication: To facilitate the installation process, apply a suitable lubricant to the rubber joint's interior and the pipe ends. This reduces friction during fitting and allows for easier adjustment and alignment.
Insertion and Connection: Insert one end of the rubber flexible joint onto the pipe and carefully align it with the valve outlet. Gradually push the joint onto the pipe, taking care not to force it but ensuring a snug fit. Connect the opposite end of the joint to the other pipe, maintaining proper alignment throughout the process.
Securing Couplings: If the rubber joint is equipped with couplings, ensure that they are properly secured onto the pipe ends. Follow the manufacturer's instructions for tightening the couplings to achieve a leak-proof connection.
Testing: After installation, conduct a pressure test to check for leaks or any signs of inadequate sealing. Gradually increase the pressure within the system and inspect the joint and valve connections for any leaks. If any leakage occurs, address it by adjusting the joint and retesting until a secure seal is achieved.
Post-Installation Inspection: Once the joint is successfully installed and tested, visually inspect the entire connection to ensure that it is properly aligned and secure. Verify that there are no visible signs of stress or misalignment that could compromise the joint's performance.
By following these steps and considering the specificity of your system, the installation of rubber flexible joints for water pipe valves can significantly improve the durability and reliability of the piping network. Properly installed rubber flexible joints help mitigate the effects of water hammer, vibration, and thermal expansion, ultimately contributing to the efficiency and longevity of the piping system.