Installation of Rubber Hose Couplings
Rubber hose couplings are essential components in various fluid transfer and ventilation systems, and their correct installation is crucial for ensuring leak-free and reliable performance. The following is a comprehensive guide outlining the steps involved in the installation of rubber hose couplings.
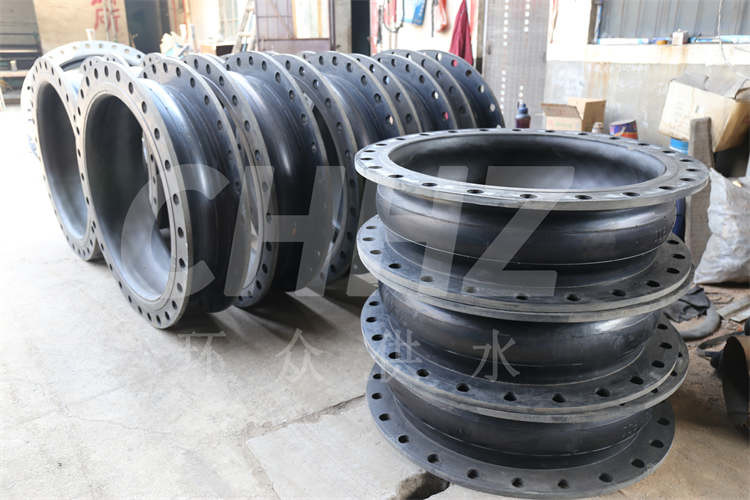
Step 1: Inspection of Components Before installation, it is important to thoroughly inspect the rubber hose couplings and the corresponding hoses for any damage, wear, or irregularities. Any compromised components should be promptly replaced to ensure the integrity of the system.
Step 2: Preparation of Hoses Prepare the hoses by ensuring that the ends are clean, free of debris, and undamaged. Trim the hose ends squarely and remove any rough edges or protrusions that could impede proper coupling engagement.
Step 3: Lubrication Apply a thin layer of compatible lubricant to the hose end and the inside surface of the coupling. This lubrication assists in facilitating the assembly process and ensures a secure and tight fit without damaging the hose or the coupling.
Step 4: Insertion Carefully insert the lubricated hose end into the appropriate end of the coupling, ensuring that it is fully seated and reaches the hose stop. Firm and consistent pressure may be required to properly seat the hose, especially for larger diameter hoses.
Step 5: Attachment If the rubber hose coupling is equipped with clamps or other attachment mechanisms, follow the manufacturer's instructions to secure the coupling to the hose. Ensure that the attachment method provides a tight and reliable connection that prevents leaks or disengagement during operation.
Step 6: Inspection After installation, visually inspect the assembled rubber hose coupling to verify that the hose is securely attached, and there are no signs of misalignment, excessive deformation, or damage. This inspection helps identify any installation issues that may compromise the performance and longevity of the coupling.
Step 7: Pressure Test Depending on the application and system requirements, perform a pressure test to confirm the integrity of the assembly. Gradually increase the pressure to the specified level and check for any leaks or abnormalities. This step helps ensure that the rubber hose coupling will withstand the operational pressures without failure.
Step 8: Documentation Document the installation details, including the date, the person responsible for the installation, and any specific notes or observations. This documentation can be valuable for maintenance and quality control purposes.
In summary, the proper installation of rubber hose couplings involves meticulous preparation, methodical assembly, and thorough inspection to guarantee a reliable and leak-free connection. Adhering to the recommended procedures and guidelines is essential for optimizing the performance and lifespan of the rubber hose couplings in various fluid transfer and ventilation applications.